How to Set Up a Two-Zone Fire on Any Grill
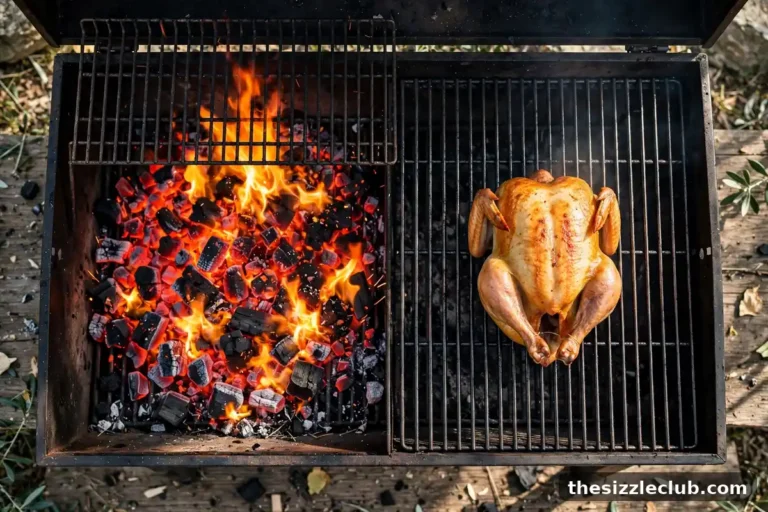
A two-zone fire means putting heat on only part of your grill, leaving the rest as a cooler safe zone. That single setup choice is the difference between a grill that fights you and a grill that works with you. With two zones you can sear and then roast, rescue flaring food, hold finished food warm, and cook thick cuts through without burning them. Here is how to build a proper two-zone fire on charcoal, gas, and pellet grills, and how to manage the zones while you cook.
Why Two Zones Beat One Hot Grill Every Time
A grill with heat everywhere has exactly one setting: full blast. Everything cooks at the same aggressive pace, which is fine for thin burgers and terrible for nearly everything else. Thick steaks char before the center cooks. Chicken skin drips fat and erupts into flames with nowhere safe to move. Finished food has nowhere to wait while the rest catches up.
Two zones solve all of this. The hot zone delivers searing and browning. The cool zone delivers gentle finishing, flare-up refuge, and a holding area. You move food between zones the way a cook moves pans between burners — it is the closest thing grilling has to having both a broiler and an oven at once. If you only learn one setup technique, make it this one. The underlying logic is the same direct vs indirect heat principle, just built into the physical layout of your grill.
Charcoal Method: Banking Coals and the Chimney Starter
Start with a full chimney starter of charcoal — this is the standard measure for a two-zone fire on a 22-inch kettle, and it gives you enough fuel for a solid hour or more of cooking. Light it and wait until the top coals are ashed over and glowing, usually fifteen to twenty minutes.
Building the zones
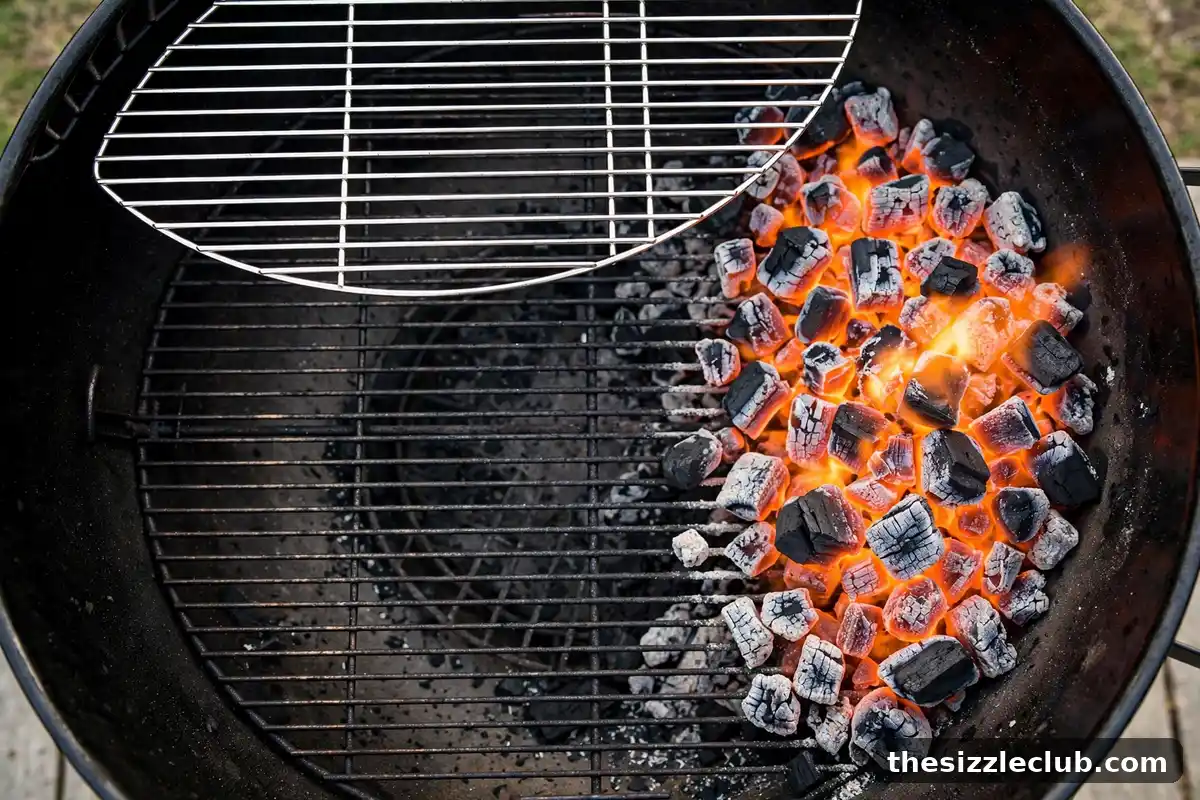
Pour the lit coals onto one side of the charcoal grate, piling them against the wall of the kettle. Bank them two to three coals deep for high heat, or spread them in a thinner single layer for medium heat. The empty half of the grill is your cool zone. Place the cooking grate on, close the lid with the vents positioned over the cool side (so heat draws across the food), and let the grill preheat for five minutes.
Reading your zones
Hold your hand about five inches above the grate. Over the coals you should feel intense heat you can only tolerate for two to three seconds — that is your searing zone. Over the empty side you should feel gentle warmth you can hold for six seconds or more — that is your roasting zone. The hand test is approximate, but it teaches you to feel the difference between zones, which is a skill in itself.
Gas Method: Burner Configuration That Works
Gas makes two zones almost effortless, since each burner is an independent heat source. The rule: light only the burners you want hot.
Two-burner grills
Turn one burner to medium-high or high and leave the other completely off. The lit side is your hot zone; the unlit side, warmed only by ambient heat with the lid closed, is your cool zone. This is simple and effective, though the cool side stays relatively warm since the grill is small.
Three-burner (or larger) grills
You have two good options. Light the two outer burners and leave the center off for a big central indirect zone — ideal for whole chickens and roasts. Or light one side only (one or two burners) and leave the rest off for a classic hot-side and cool-side split. Preheat with all burners on high for ten minutes, then dial down to your chosen configuration and give the grates a minute to settle at the new temperatures.
The lid rule
On gas, the cool zone only works as an oven with the lid closed. Open lid, no convection, no indirect cooking. This is the gas beginner’s most common error: setting up perfect zones and then cooking with the lid up.
Pellet Grill Two-Zone Workarounds
Pellet grills are indirect cookers by design — the fire pot sits under a diffuser plate, so the whole grate gets convection heat. True two-zone separation is harder, but workable approximations exist.
First, check whether your pellet grill has a direct-flame mode: many models have a sliding heat diffuser or a sear plate that exposes the fire pot. Open it for a direct searing zone, close it for indirect cooking. Second, use vertical zones: the grate runs hotter directly above the fire pot and cooler toward the edges, so you can sear over the center and finish at the perimeter. Third, pair the pellet grill with a second heat source — a small charcoal kettle, a cast-iron skillet on a side burner, or even a ripping-hot oven broiler — and do the sear phase there. This hybrid approach is exactly how many pellet owners handle thick steaks, and it pairs naturally with the reverse sear method, where the pellet grill handles the slow phase beautifully.
Managing the Zones During a Long Cook
Setting up zones is the easy part; keeping them useful for an hour or more takes a little management.
On charcoal
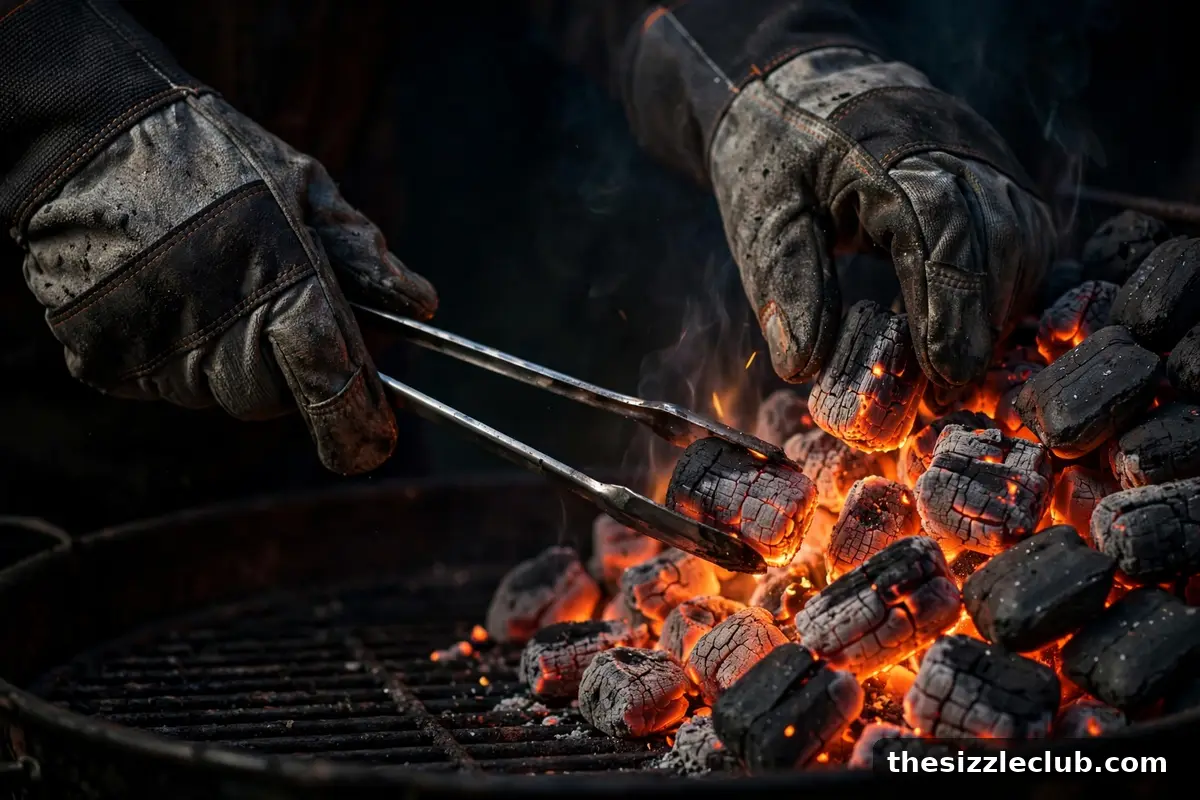
Coals burn down over time, so the hot zone gradually cools. For cooks over forty-five minutes, add eight to ten fresh coals to the hot side every thirty to forty minutes, tucking them under the ashed-over ones so they catch cleanly. Adjust the vents to steer temperature: open vents feed the fire more oxygen and raise heat, nearly-closed vents calm it down. Keep the lid on as much as possible — every peek costs you heat and time.
On gas
Management is mostly knob work. If the cool side creeps too hot on a long cook, dial the lit burner down a notch. If searing needs more punch, crank it up for a few minutes, then back down. Because gas heat is steady, your main job is simply remembering to keep the lid closed and to move food between zones on schedule.
Food traffic control
Think of the zones as stations. Raw thick food starts with a sear on the hot zone, moves to the cool zone to finish, and finished food can rest on the far edge of the cool zone while the next batch sears. Flaring food gets evacuated to the cool zone immediately — no panic, just a move. This traffic pattern is what makes two-zone cooking feel calm instead of chaotic.
Mistakes to Avoid
- Spreading coals edge to edge. A thin layer of coals across the whole grate is not two zones — it is one lukewarm zone. Bank them to one side.
- Lighting every gas burner. Full blast everywhere defeats the purpose. Leave burners off to create the cool zone.
- Cooking with the lid open. The cool zone needs trapped heat to work as an oven. Lid open means the indirect side barely cooks.
- Making the cool zone too small. On a crowded grill, food on the cool side can sit close enough to the coals to keep burning. Give the indirect zone real space.
- Forgetting the zones mid-cook. The setup only helps if you actually move food. Sear, then move — do not leave thick food parked over the fire.
Decision Criteria: Sizing Your Zones
How you split the grill depends on what you are cooking. Mostly searing thin foods? Make the hot zone large — two-thirds of the grill — with a small cool corner for flare-up refuge. Cooking thick cuts with the sear-then-roast pattern? Go half and half, so the roast phase has plenty of room. Roasting a whole chicken or cooking low and slow? Flip the ratio: a smaller hot zone and a large indirect area, since the food will spend most of its time away from the fire. There is no single correct split — match the zones to the cook, and adjust next time based on what felt cramped.
Key Takeaways
- A two-zone fire puts heat on part of the grill and leaves the rest as a cooler safe zone — sear on one side, finish on the other.
- On charcoal, bank lit coals against one wall; on gas, light only some burners; on pellet grills, use direct-flame modes or vertical heat differences.
- Keep the lid closed so the cool zone works as an oven.
- Manage zones during long cooks: add coals on charcoal, adjust knobs on gas, and move food between zones on purpose.
- Size your zones to the cook — bigger hot zone for searing sessions, bigger cool zone for roasts.
Frequently Asked Questions
How hot should each zone be?
The hot zone should be searing-hot — roughly 450 to 550 degrees Fahrenheit at the grate. The cool zone typically runs 300 to 350 degrees with the lid closed, which is ideal for finishing and roasting. Exact numbers matter less than the contrast between the zones.
Can I do two zones on a small portable grill?
Yes, with tighter quarters. Pile coals on one half of a small kettle or light one side of a small gas grill. The cool zone will be snug, so cook in smaller batches and keep food toward the far edge away from the heat.
Do I need a charcoal basket?
No, but baskets help. They keep the coal pile tidy and make it easy to add fuel or shake down ash. Banking coals against the kettle wall works fine without one — baskets are a convenience, not a requirement.
Why does my cool side still burn food?
Three usual causes: the hot zone is oversized and radiating too far, the lid is open so you are cranking burners to compensate, or food is placed too close to the heat boundary. Shrink the hot zone, close the lid, and park food on the far edge of the cool side.

Your next action: build a two-zone fire on your very next cook, even if the recipe does not call for it. Put the coals or burners on one side, leave the other side empty, and just notice how the grill behaves. Move one piece of food from hot to cool mid-cook and watch what happens. Once your hands learn the traffic pattern — sear here, finish there, park finished food at the far edge — you will never go back to a single blast of heat again.


One Comment