The Only 12 Grilling Tools You Actually Need
You do not need a drawer full of gadgets to grill well. After years of testing what actually gets used, the honest answer is this: twelve tools cover everything a backyard cook needs — three essentials you should buy first, five workhorses that make every cook easier, and four nice-to-haves that earn their place once you cook regularly. Everything else is either a duplicate of something you own or a gimmick gathering dust. Buy in that order, buy sturdy versions, and take care of them, and your toolkit will outlast several grills.
Why Tools Matter More Than the Grill
A modest grill with a great thermometer beats an expensive grill with guesswork every time. Tools are what connect your intentions to the fire: they tell you the real temperature, keep your hands safe, move food precisely, and clean up the mess. Most disappointing cooks are not grill problems — they are information problems (no thermometer), handling problems (short tongs), or fire problems (no chimney starter). Fix the toolkit and the same grill suddenly cooks better. That is why this list starts with the three tools that change results the most, not the three that look most impressive.
The Big Three: Buy These First
1. An instant-read thermometer
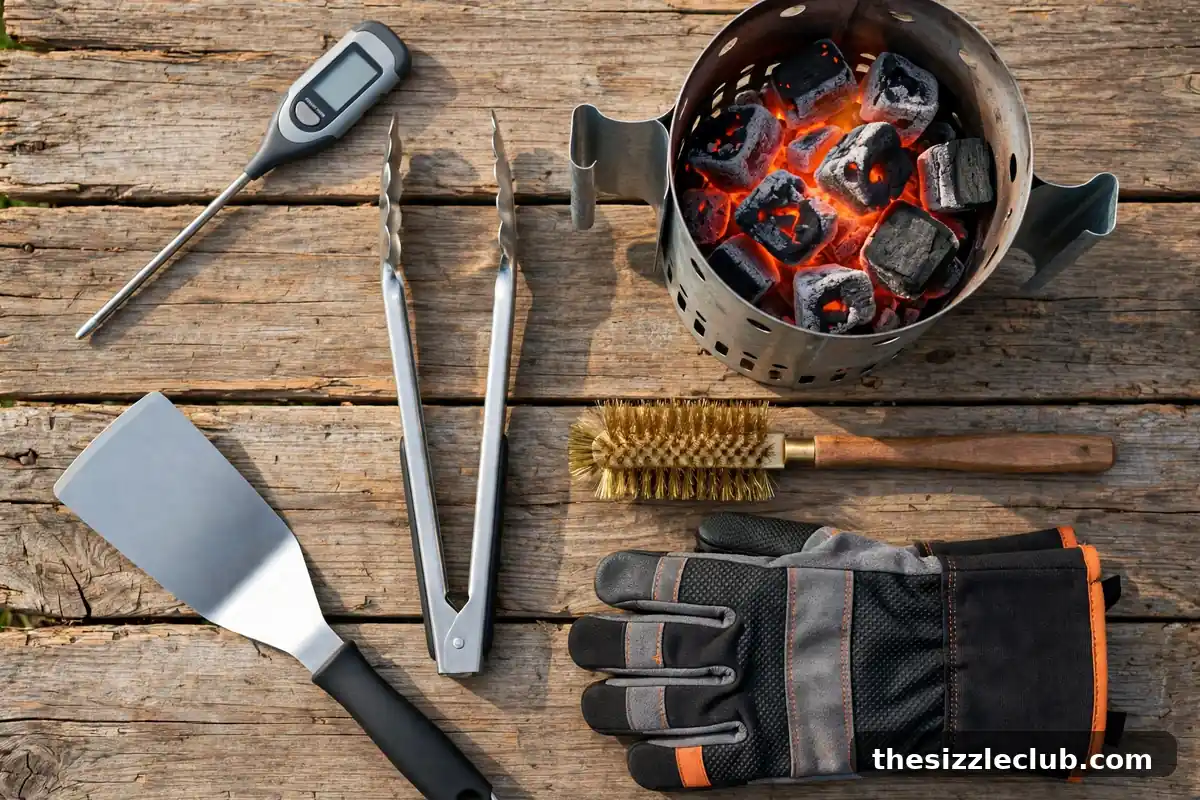
This is the single most important grilling tool, full stop. It tells you when food is actually done, which no timer, chart, or poke test can do reliably. Look for a thermometer that reads in a few seconds, has a clear display you can read in sunlight, and feels sturdy. Use it on everything — chicken, burgers, steaks, pork — and you will immediately stop overcooking food. The habit of probing thick pieces in two spots takes ten seconds and eliminates the most common grilling failure.
2. Long spring-loaded tongs
Tongs are your hands at the grill. Choose a pair at least 16 inches long so your knuckles stay clear of the heat, with a spring action that feels responsive and tips that grip securely without tearing food. The classic mistake is using a fork — every puncture leaks juices. Tongs turn, flip, and reposition everything from asparagus to brisket, and a good pair becomes an extension of your arm within a week.
3. A chimney starter
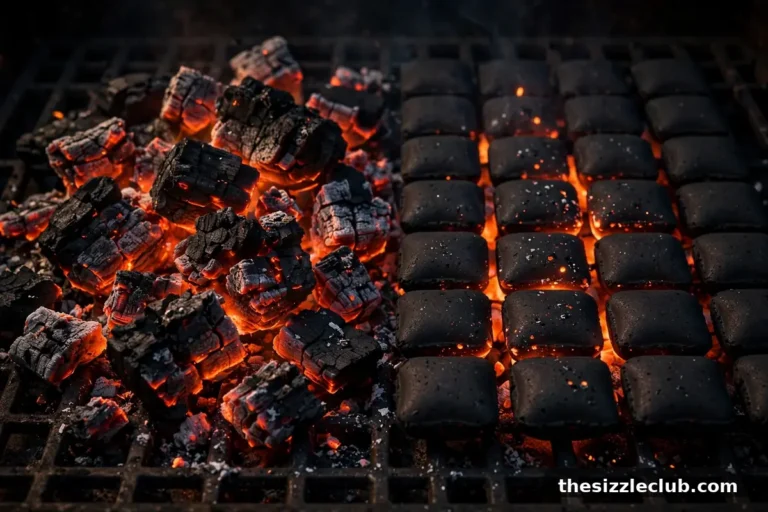
If you cook with charcoal, a chimney starter is non-negotiable. Fill it with charcoal, light newspaper or a starter cube underneath, and in about fifteen to twenty minutes you have evenly lit coals with no lighter fluid taste and no guesswork. It is faster than it sounds, far more reliable than piling and praying, and it doubles as a measuring cup for consistent coal quantities. Pair it with heat-resistant gloves and lighting the grill becomes the easiest part of the cook.
The Next Five: Workhorses for Every Cook
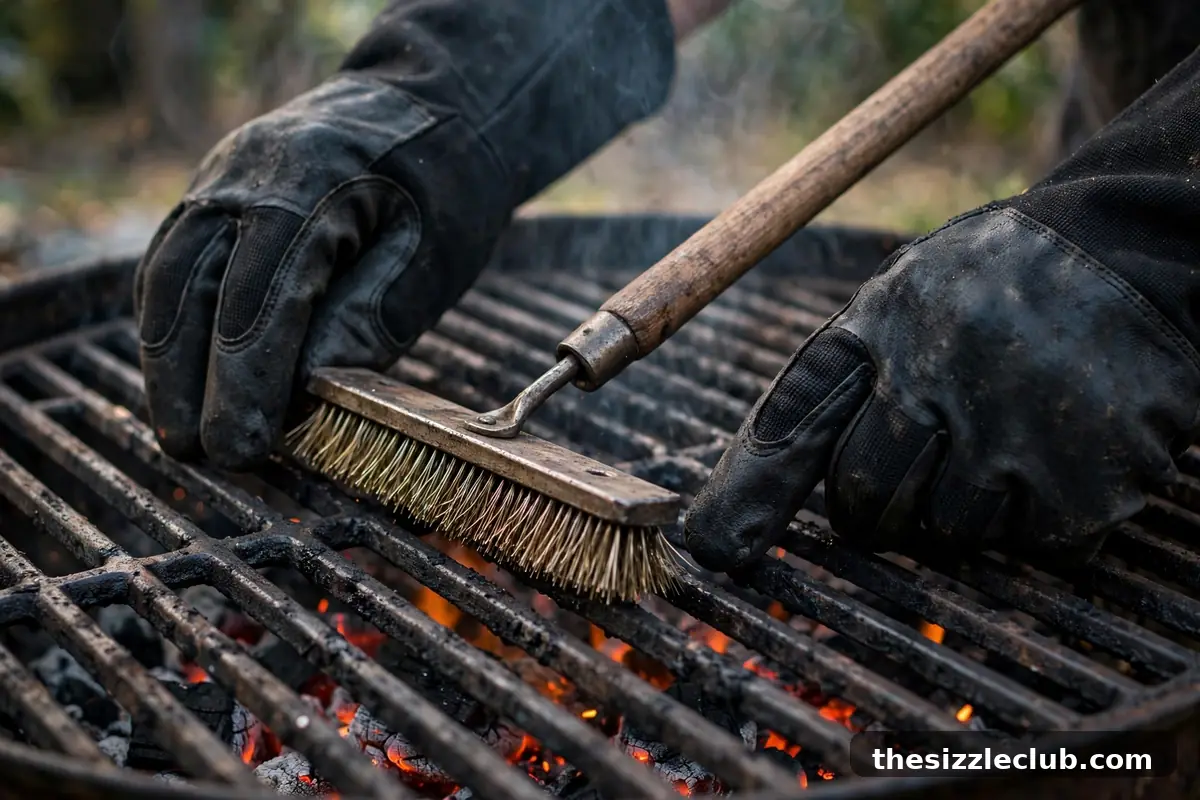
4. A sturdy grill brush
Clean grates are the foundation of good searing and easy flipping. A brush with stiff bristles and a long handle lets you scrub the hot grates in seconds before and after cooking. Replace the brush when bristles start loosening — stray bristles on food are a genuine hazard — or switch to a coiled-wire or wooden-scraper style if you prefer. For the full routine, see our guide on how to clean and maintain your grill grates.
5. Heat-resistant gloves
Standard oven mitts are too clumsy and too short for grill work. Dedicated grilling gloves — long enough to cover your forearms and rated for high heat — let you handle a hot chimney starter, adjust grates, and move food confidently. They are the difference between tentative and competent around a hot fire, and they cost little.
6. A wide, thin spatula
Tongs handle most foods, but delicate items — fish fillets, smash burgers, vegetables — need a spatula that slides cleanly underneath. Choose one with a thin, flexible edge, a long handle, and enough width to support what you lift. The thin edge is what prevents sticking and tearing.
7. Sheet pans and wire racks
Two sturdy rimmed sheet pans are the unsung heroes of grilling: one for carrying seasoned raw food out to the grill, one (or a clean one) for bringing cooked food back in. Never reuse the raw-food pan without washing it. A wire rack set inside a pan is perfect for resting meat, holding food away from direct heat, and transporting everything in one trip.
8. A spray bottle
Filled with water, a spray bottle calms small flare-ups without the drama of a cup of water (which can spread burning grease). Filled with apple juice or another liquid, it mists long smokes to keep surfaces moist. It costs almost nothing and lives by the grill permanently.
The Final Four: Nice-to-Haves That Earn Their Drawer Space
9. A grill basket
Small or delicate foods — shrimp, chopped vegetables, cubed meat — fall through grates or demand tedious skewering. A hinged grill basket holds them together so you can flip everything at once. Once you own one, weeknight vegetable grilling becomes dramatically easier.
10. Metal skewers
Flat metal skewers beat wooden ones in every way: no soaking, no burning, no splintering, and the flat profile stops food from spinning when you turn them. A set of six to eight covers kebabs for a family cook.
11. A basting brush
For applying sauces, oils, and marinades during the cook, a silicone basting brush withstands heat, cleans easily, and does not shed bristles into your food the way natural-bristle brushes can. Essential if you sauce ribs or glaze chicken.
12. An ash tool and bucket
For charcoal cooks, a small metal ash tool and a metal bucket with a lid make cleanup safe and quick. Scoop cooled ash, close the lid, and store it away from anything flammable. Simple, but it turns the least pleasant grill chore into a two-minute job.
What to Skip: Gimmicks That Gather Dust
Grill aisles are full of single-purpose gadgets. Most earn their place in a drawer, not in your cooking. Be skeptical of: oversized branded tool sets where half the pieces never get used; novelty-shaped burger presses and single-use molds; cheap thermometers that read slowly or inaccurately (a bad thermometer is worse than none, because it lies); and anything battery-powered that a simple mechanical version does better. A good rule: if a tool does one narrow job that tongs, a spatula, or a thermometer already handle, skip it. If you are just starting out, our complete beginner’s guide to grilling shows how little you truly need for your first cooks.
Mistakes to Avoid With Grill Tools
- Buying the giant 20-piece set. You will use four pieces and store sixteen. Buy the big three individually, choosing each for quality.
- Trusting a slow or cheap thermometer. If readings take ten seconds or drift, you will stop using it — and then you are guessing again.
- Using short kitchen tongs at the grill. Burned knuckles teach this lesson once. Length matters.
- Leaving tools out in the weather. Rain rusts even good steel. A small covered bin or a hook under shelter doubles tool life.
- Never replacing the grill brush. Worn bristles shed. Inspect it regularly and retire it at the first sign of loosening.

How to Build Your Kit in Order
Do not buy all twelve at once. Buy the big three before your next cook — thermometer, tongs, chimney starter — and notice how much easier everything gets. Add the brush and gloves with your next charcoal or accessory purchase. Add the spatula, pans, and spray bottle once you are grilling weekly. The final four can wait until you feel a specific need: the day you lose half your shrimp through the grates is the day to buy the basket. This staged approach spreads the cost and, more importantly, teaches you what each tool is for before the next one arrives.
When choosing, prioritize the working parts over looks: thermometer speed and accuracy, tong spring tension and grip, brush bristle security. Comfortable handles and solid construction beat fancy finishes every time, and mid-range tools from reputable makers usually hit the sweet spot between flimsy and overpriced.
Care Basics So Good Tools Last Decades
Good tools last decades with minimal care. Wash tongs, spatulas, and brushes with hot soapy water after cooks and dry them fully before storing. Keep the thermometer clean and dry, and store it where it will not get crushed. Oil wooden handles occasionally to prevent cracking. Empty and clean the chimney starter after it cools, and store everything under cover. Two minutes of care after each cook is the entire maintenance program — and it is what separates the cook whose tools last twenty years from the one rebuying every spring.
Key takeaways
- Twelve tools cover everything: three essentials, five workhorses, four nice-to-haves.
- The thermometer, long tongs, and chimney starter change results the most — buy them first.
- Skip giant tool sets and single-purpose gimmicks; buy individual quality pieces in stages.
- Replace grill brushes at the first sign of loose bristles, and store all tools under cover.
- Two minutes of cleaning after each cook makes good tools last decades.
Frequently asked questions
What is the single most important grilling tool?
An instant-read thermometer. It is the only reliable way to know when food is done, and it immediately fixes the most common grilling failure — overcooked, dried-out meat. Everything else makes cooking easier; the thermometer makes it correct.
Do I need different tools for gas and charcoal grills?
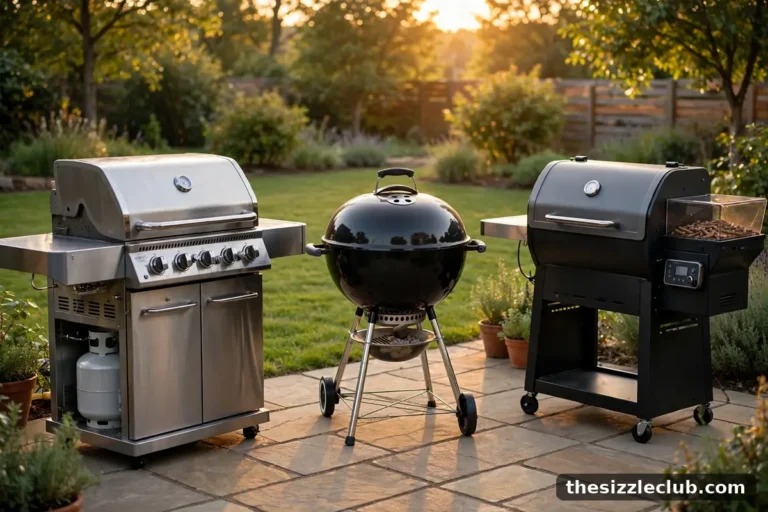
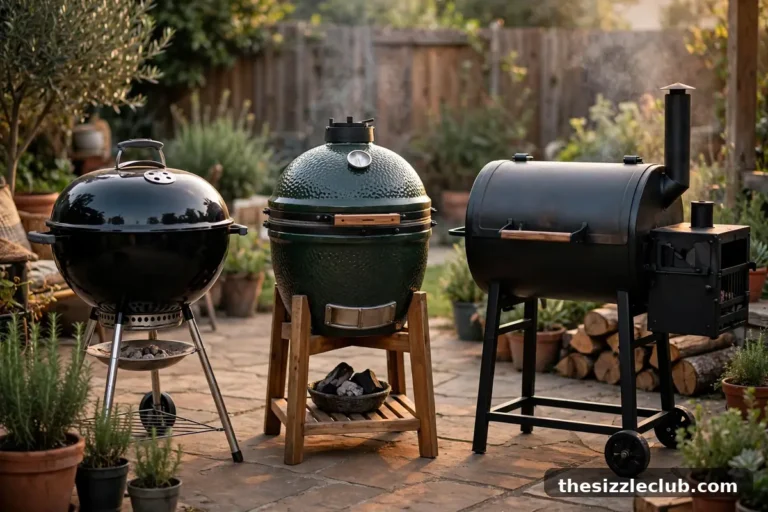
Mostly the same kit works for both. The chimney starter and ash bucket are charcoal-specific; everything else — thermometer, tongs, brush, gloves, spatula, pans — is universal. That is another reason to invest in quality: the tools follow you whatever grill you own next.
How long should a good grill brush last?
With regular use, a quality brush typically lasts a season or two before bristles start loosening. Inspect it often and replace it at the first sign of shedding — the cost of a new brush is trivial compared to the risk of a bristle ending up in food.
Are expensive tongs worth it over cheap ones?
Up to a point, yes. The difference is in the spring tension, the grip security, and the hinge durability — cheap tongs flex, slip, and loosen quickly. You do not need the most expensive pair, but the mid-range is noticeably better than the bargain bin.
Your next action: before your next cook, get the big three — an instant-read thermometer, 16-inch tongs, and a chimney starter if you burn charcoal. Use the thermometer on everything for one cook and watch how much guesswork disappears.