The Reverse Sear Method, Step by Step
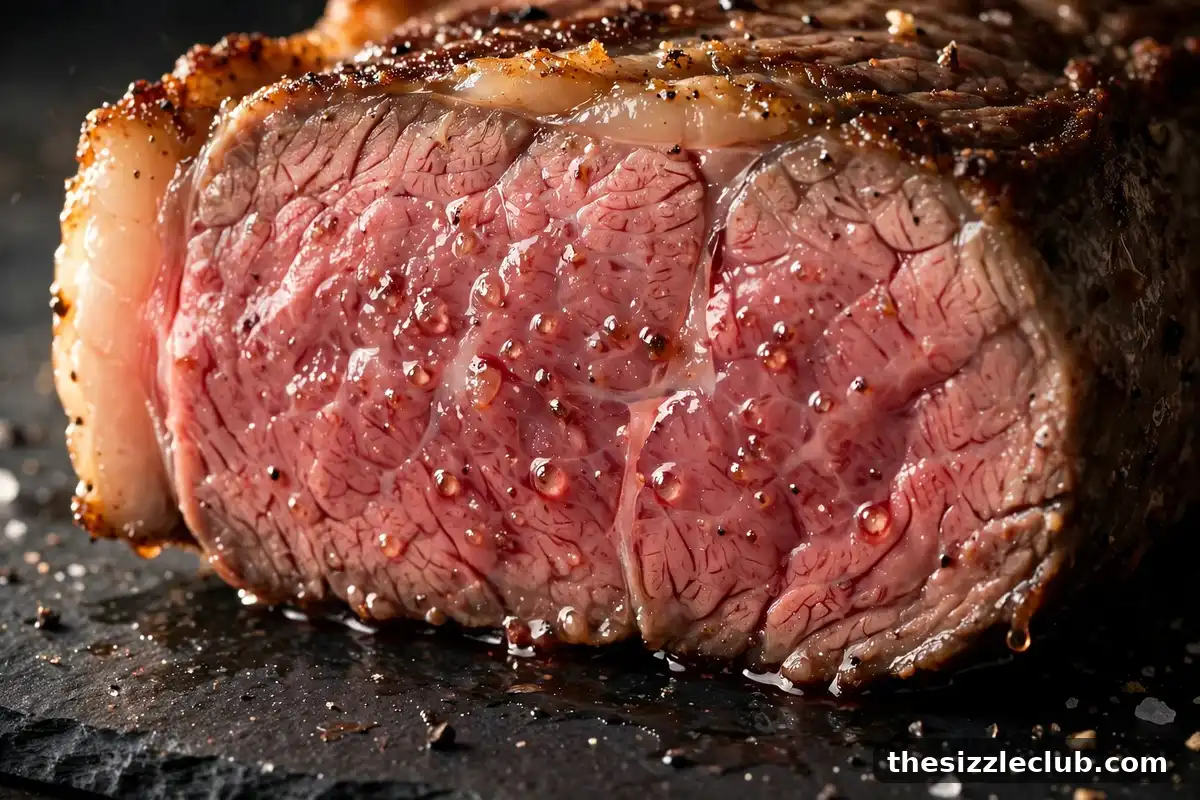
Reverse sear means cooking a thick steak gently first, then searing it screaming hot at the very end — the exact opposite of the traditional sear-then-roast order. The payoff is the most evenly cooked steak you can make at home: edge-to-edge pink with a deep, hard sear on the outside and almost no gray overcooked band underneath the crust. If you have ever cut into a thick steak to find a thick ring of gray meat around a small pink center, reverse sear is the fix. Here is the complete method, step by step.
What Reverse Sear Is and Why It Beats Sear-First for Thick Cuts
In the traditional method, you sear a steak over blazing heat first and finish it over gentler heat. The problem: that initial blast of heat keeps cooking the outer layers while the center slowly catches up, leaving a wide band of overcooked gray meat just under the crust. The thicker the steak, the worse this gets.
Reverse sear flips the order. The steak spends most of its cook time in gentle heat — around 225 to 275 degrees — which brings the entire cut up to temperature slowly and evenly. Because the heat is gentle, there is almost no temperature gradient from edge to center. Then, at the very end, a sixty-to-ninety-second sear per side over maximum heat builds the crust. The steak is already nearly done, so the sear only affects the outermost millimeters. The result is a dramatically thinner gray band and a more tender, evenly cooked interior. For a broader steak game plan, see our guide on how to grill a perfect steak at any thickness.
The Low-and-Slow Phase: Temps, Times, and Thermometer Placement
This is the phase that does most of the cooking, and it rewards patience over precision.
Setup and temperature
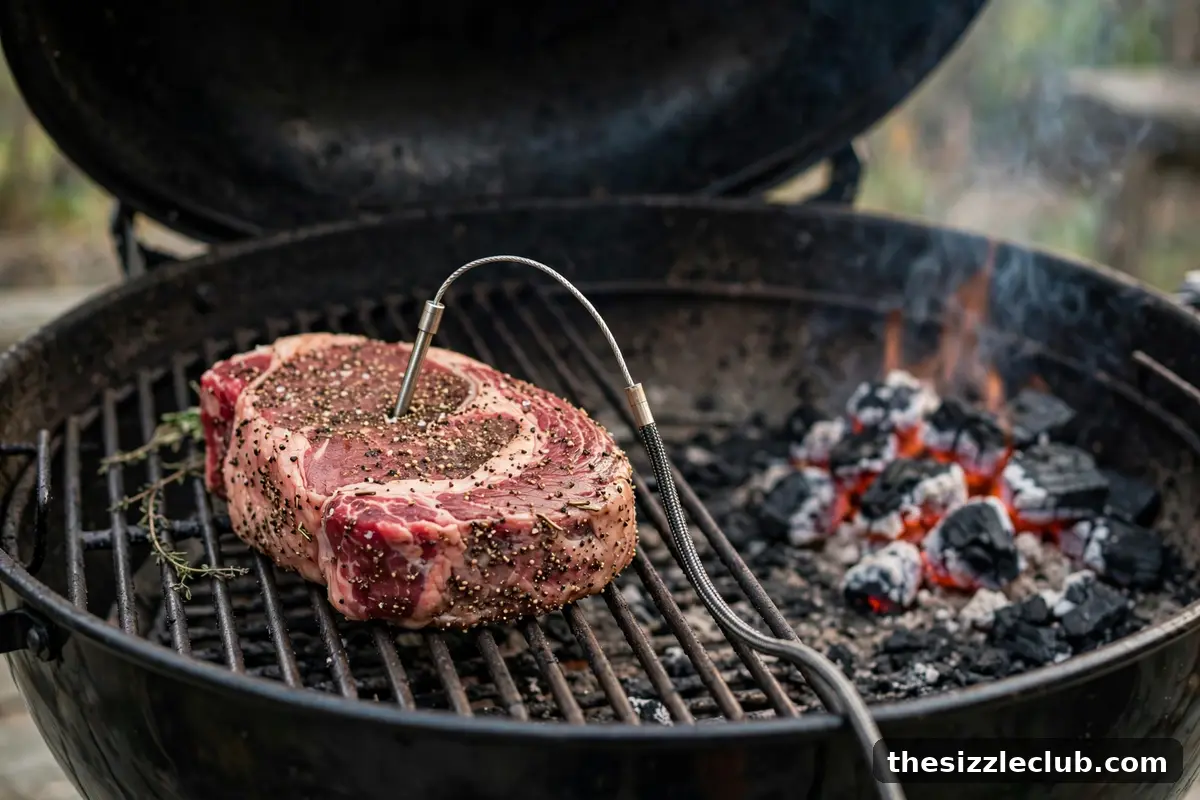
Set your grill up for indirect cooking at 225 to 275 degrees Fahrenheit — a two-zone fire on charcoal or gas, or a pellet grill running in its natural indirect mode. Place the seasoned steak on the indirect side, close the lid, and let gentle heat do the work. A wire rack on a sheet pan also works if you are finishing indoors, but the grill adds a whisper of smoke that suits the method.
Timing expectations
A one-and-a-half-inch thick steak takes roughly forty-five minutes to an hour in the slow phase; a two-inch steak can take seventy-five to ninety minutes. These are estimates, not rules — thickness, starting temperature, and exact grill temp all shift the time. This is why the thermometer matters more than the clock.
Thermometer placement
Insert your probe thermometer into the side of the steak, into the thickest part, aiming for the geometric center. For an instant-read thermometer, check every fifteen minutes after the first half hour. You are targeting ten to fifteen degrees below your final desired doneness: for medium-rare finishing at 130 to 135, pull from the slow phase at about 115 to 120 degrees. The sear will add the rest.
The Rest Between Phases Most People Skip
When the steak hits your slow-phase target, take it off the heat and rest it for ten to fifteen minutes while you get the sear zone ripping hot. This rest does two useful things. First, it lets the surface dry slightly — a drier surface sears harder and faster, which is exactly what you want. Second, it evens out internal temperatures, so the final sear lands on a steak that is uniform throughout. Pat the surface dry with paper towels before searing; moisture is the enemy of crust. Meanwhile, open the vents wide on charcoal or crank the gas burners to maximum and let the hot zone get as hot as it possibly can. You want the grate screaming.
The Final Sear: Screaming Hot and Fast
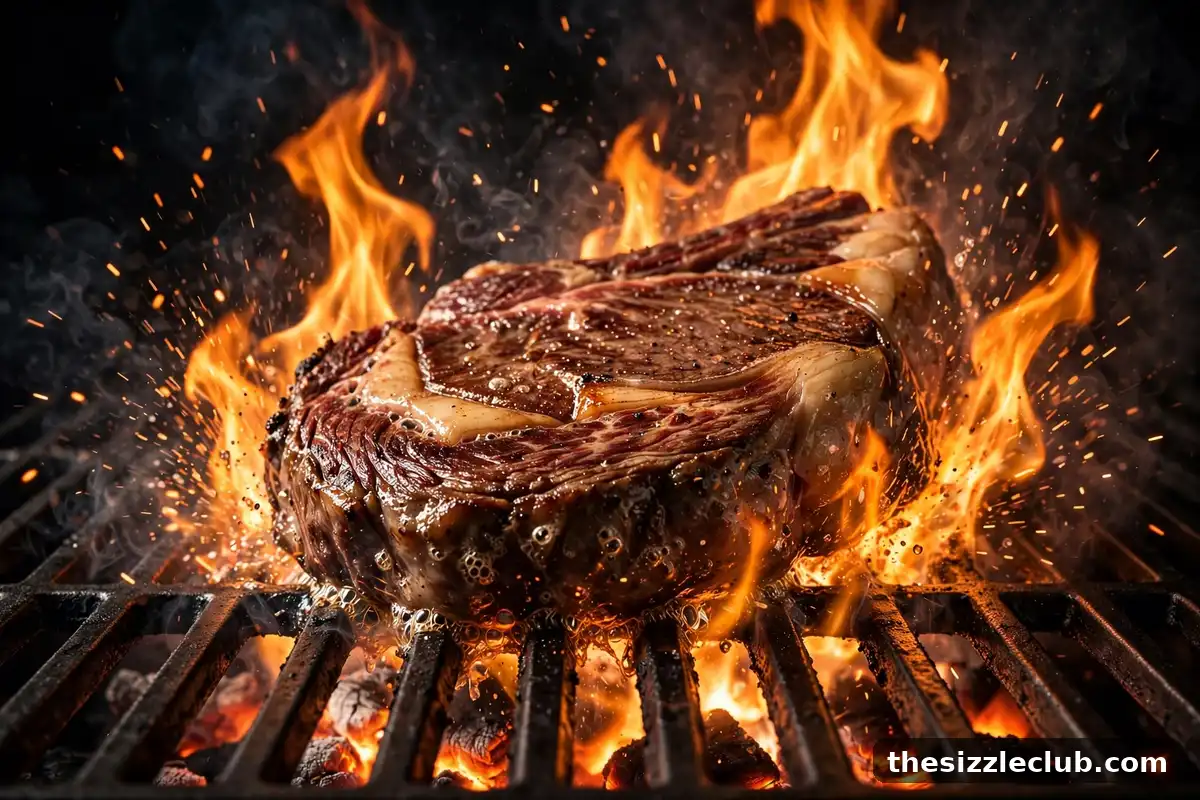
The sear phase is short, violent, and simple. Place the rested steak directly over the hottest part of the grill. Sear for sixty to ninety seconds per side, flipping once. You can add a second flip for crosshatch marks if you like, but keep total sear time under about three minutes — the interior is already done, and every extra second of sear pushes the outer layers past your target.
Getting the hardest sear
Three details make the difference. First, the surface must be dry — pat it down right before it hits the grate. Second, the grate must be as hot as your grill can manage; give it a full ten minutes at maximum heat. Third, use a thin film of a high-smoke-point oil on the steak itself, not the grates, and press the steak down lightly for the first few seconds to ensure full contact. The crust should be deep brown and audibly sizzling.
After the sear
Rest the steak again, briefly — five minutes is enough since the interior barely climbed during the short sear. Then slice and serve. Our guide on how long to rest meat covers the full resting logic for every cut.
Seasoning for Reverse Sear
Season generously with kosher salt and coarse black pepper at least forty-five minutes before the slow phase — longer is better, and overnight in the refrigerator is ideal. The long, gentle cook gives the salt time to penetrate deeply, seasoning the steak throughout rather than just on the surface. Because the surface dries during the slow cook and the rest between phases, you get better crust adhesion than with last-minute seasoning. Keep it simple: salt and pepper are all a great steak needs, since the method itself delivers the texture. Save delicate herbs, garlic, and butter for the sear phase or for basting at the end, where their flavors stay bright instead of turning bitter over the long cook. If you like a peppery crust, add a fresh crack of pepper right before the sear — it will toast in the intense heat without the harshness that long exposure can bring.
Which Cuts Suit Reverse Sear — and Which Do Not
Reverse sear shines on thick cuts: ribeyes, strip steaks, and filets at least one and a half inches thick, plus thick pork chops and even beef roasts like tri-tip. Thickness is the key variable — the method needs enough mass for the slow phase to make sense.
Skip reverse sear for thin steaks under an inch thick. A thin steak cooks through in the time it takes to sear, so the slow phase would overcook it before the sear even starts — hot and fast from start to finish is the right call there. Also skip it for very lean, delicate cuts that dry out easily, and for anything you plan to cook past medium, since the method’s precision advantage matters most at medium-rare and below. Decision rule: if the steak is thick enough that you would normally worry about the center staying raw, reverse sear it; if it is thin enough to cook through while searing, do not.
Mistakes to Avoid
- Overshooting the slow-phase target. Remember you need ten to fifteen degrees of headroom for the sear. Pulling at your final target means overshooting after searing.
- Skipping the rest between phases. A wet surface steams instead of searing. Rest, pat dry, then sear.
- Searing over lukewarm heat. A timid sear that takes four minutes per side cooks the interior past your target. Get the zone truly screaming first.
- Using it on thin steaks. Reverse sear is a thick-cut technique. Thin steaks need direct high heat only.
- Forgetting carryover. Even the short sear adds a few degrees. Account for it when you choose your pull temperature.
Key Takeaways
- Reverse sear = gentle indirect cook first, blazing sear last. It produces edge-to-edge even doneness with minimal gray band.
- Slow phase: 225 to 275 degrees indirect, pulling ten to fifteen degrees below final target.
- Rest ten to fifteen minutes between phases and pat the surface dry for the hardest sear.
- Final sear: sixty to ninety seconds per side over maximum heat, three minutes total at most.
- Best for steaks and chops at least one and a half inches thick; skip it for thin cuts.
Frequently Asked Questions
Can I reverse sear on a gas grill?
Absolutely. Set up two zones — one side on low for the slow phase, the other side cranked to maximum for the sear. Many gas grillers do the slow phase with one burner on low and the lid closed, then open all burners full blast for the sear. It works just as well as charcoal.
Do I need a leave-in thermometer?
It helps but is not required. An instant-read thermometer checked every fifteen minutes works fine for the slow phase. A leave-in probe just saves you opening the lid, which keeps temperatures steadier on long slow cooks.
Should I season before the slow phase or before the sear?
Season before the slow phase. Salt needs time to penetrate, and the long gentle cook is perfect for that. Pepper and delicate herbs can go on before the sear if you worry about them tasting bitter after long heat exposure, but most cooks season fully at the start with great results.
Can I reverse sear a frozen steak?
It is possible and some cooks swear by it, but it complicates timing and seasoning. For reliable results, thaw the steak fully in the refrigerator first, then bring it closer to room temperature for thirty to forty-five minutes before the slow phase.
What grill temperature works best for the slow phase?
Anywhere from 225 to 275 degrees Fahrenheit works well. The lower end gives you a slightly more even result and more smoke flavor; the higher end shortens the cook. Avoid going above 300 — at that point you lose the gentle, even cooking that makes reverse sear special and start getting a gray band again.
Your next action: buy one thick steak — at least an inch and a half — and run the full method this weekend. Set up indirect heat at 250 degrees, probe to 115, rest and dry the surface, then sear ninety seconds a side over the hottest fire you can build. Cut it open and compare the cross-section to every steak you have grilled before. That edge-to-edge color is the whole argument, and one cook is all it takes to become a convert.


