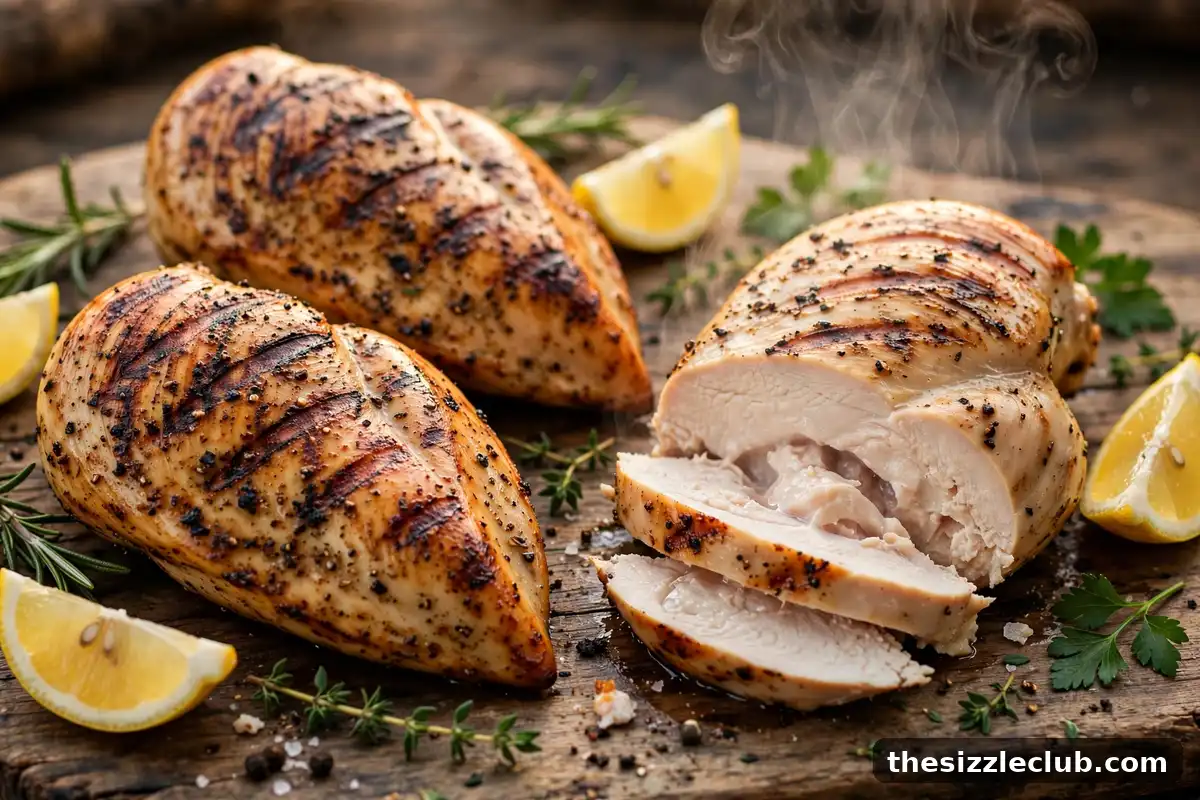
How to Grill Chicken Without Drying It Out
Dry grilled chicken is almost never the chicken’s fault — it is a technique problem with known fixes. Chicken dries out on the grill for two main reasons: uneven thickness means the thin parts overcook before the thick parts finish, and high direct heat blasts moisture out of the meat faster than it can cook through. Fix the thickness, manage the heat with two zones, brine when it helps, and pull at the right temperature, and you will serve juicy chicken every single time. Here is the complete playbook.
Why Chicken Dries Out: The Carryover and Thickness Problem
A chicken breast is a wedge: thick at one end, thin at the other. On the grill, the thin end races past done while the thick end is still catching up, so by the time the center is safe, the edges are chalky. Bone-in pieces have the same issue in a different form — the meat near the bone cooks slowest while the exposed surfaces take the full blast of heat.
Then there is carryover cooking. Chicken keeps climbing five to ten degrees after it leaves the grill, so pulling it exactly at your target means serving it overcooked. And chicken breast is extremely lean, with almost no intramuscular fat to mask overcooking the way a ribeye forgives a few extra degrees. The margin for error is small, which is why technique matters more for chicken than for almost any other grilled meat. Every fix in this guide widens that margin.
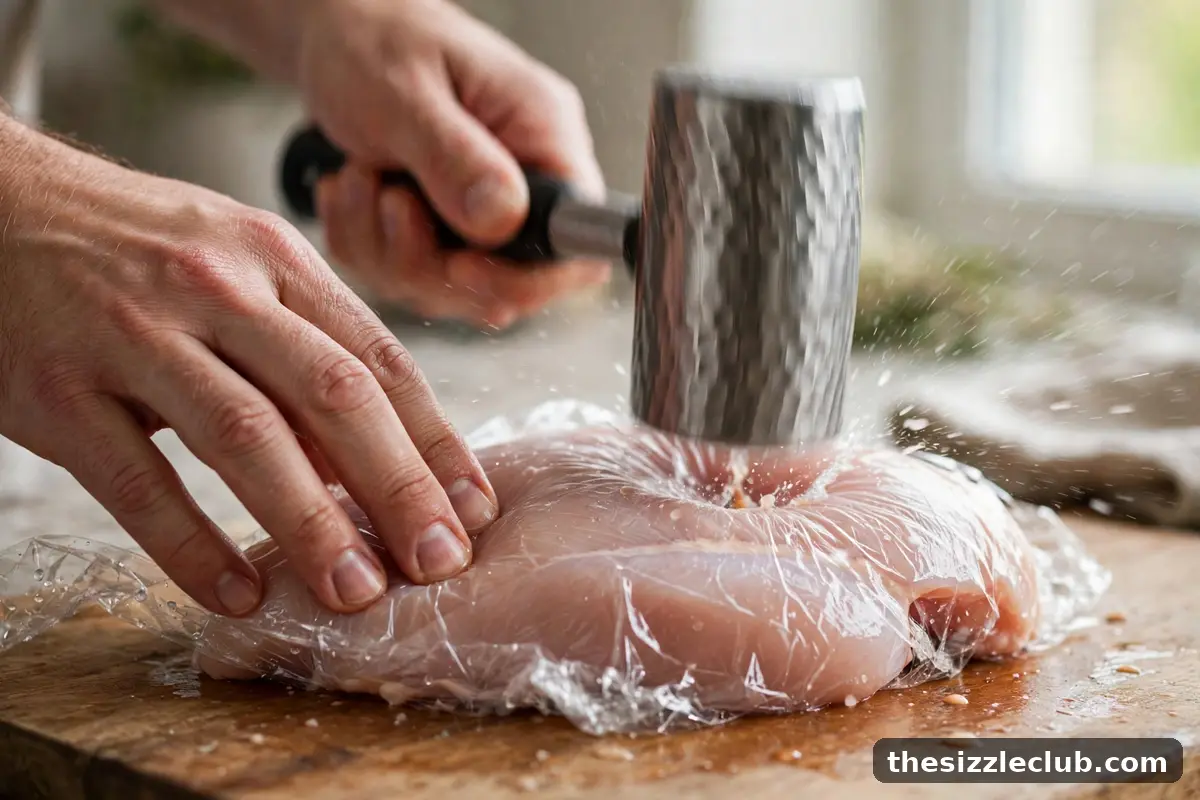
Evening Out Thickness: The Mallet Technique
The single highest-impact fix for boneless breasts: make them uniform. Place the breast in a zip-top bag or between sheets of plastic wrap, and pound the thick end down with a meat mallet, rolling pin, or heavy pan until the whole piece is an even three-quarters of an inch thick. Use firm, even strokes starting from the center and working outward — you are redistributing, not pulverizing.
Even thickness means even cooking: the whole breast hits its target at the same moment, so no part has to wait while another part catches up. This one step eliminates the most common cause of dry chicken and takes about ninety seconds. For bone-in pieces, you cannot pound, so evenness comes from heat management instead — which is where the two-zone fire earns its keep. Whole birds benefit from the spatchcock method, which flattens the bird for the same even-cooking effect.
Brining Basics: Wet vs Dry and When Each Helps
Brining seasons the meat deeply and helps it retain moisture — cheap insurance for lean chicken.
Wet brining
Submerge the chicken in a saltwater solution (about a quarter cup of kosher salt per quart of water) for one to four hours for pieces, longer for whole birds. The salt dissolves some muscle proteins so they hold onto water more tightly during cooking, and the meat absorbs seasoning throughout. Rinse and pat very dry afterward — a wet-brined bird that goes on the grill damp will steam instead of crisp.
Dry brining
Rub the chicken all over with kosher salt — about a half teaspoon per pound — and rest it uncovered in the refrigerator for a few hours or overnight. The salt draws out moisture, dissolves into it, and gets reabsorbed, seasoning the meat deeply. Dry brining also dries the skin, which crisps far better on the grill. For most grilling, dry brining is the better choice: less fuss, no giant container of salt water, and superior skin.
When brining matters most
Brine lean boneless breasts and whole birds, where dryness is the biggest risk. Bone-in thighs and drumsticks are forgiving enough that brining is optional — nice, but not necessary. If you are short on time, even a thirty-minute salt rest at room temperature beats nothing.
Two-Zone Cooking for Bone-In Pieces
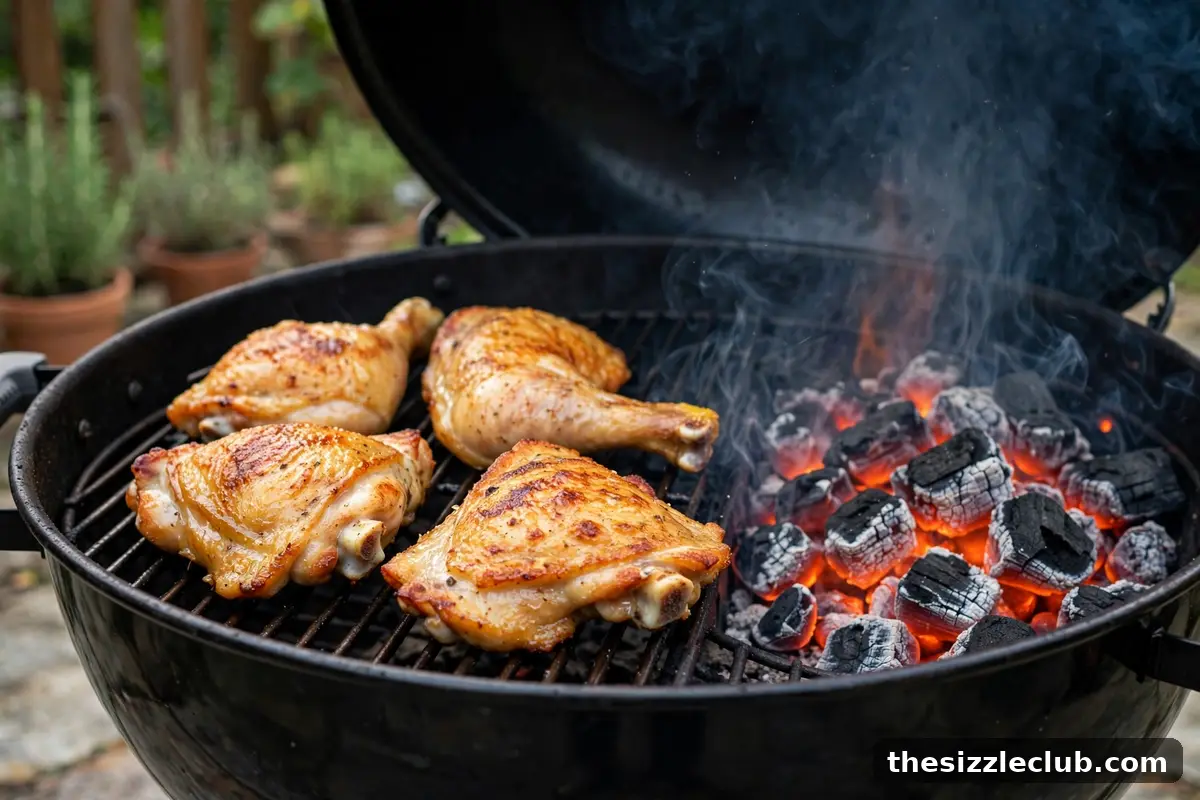
Bone-in chicken is where beginners get burned — literally. The skin drips fat onto the fire, flames erupt, and the cook panics. The two-zone fire removes the drama entirely.
- Set up a two-zone fire: medium-hot direct zone, empty indirect zone.
- Start bone-in pieces skin-side down over direct heat for three to four minutes to render fat and crisp the skin.
- Move the pieces to the indirect zone, skin-side up, and close the lid.
- Cook gently for twenty-five to thirty-five minutes, turning once, until the thermometer reads done in the thickest part.
- Finish with one to two minutes back over direct heat, skin-side down, to re-crisp.
The lid stays closed during the indirect phase — this is non-negotiable. Open-lid grilling over the cool zone just extends the cook while the skin sits in limbo. If flare-ups happen during the direct phases, slide the offending piece to the cool zone for a minute rather than fighting the flames. For the full temperature reference behind these targets, keep our grilling times and temperatures chart handy.
Target Temps by Cut — and Why 165 Is Not the Whole Story
The widely known safe temperature for poultry is 165 degrees Fahrenheit, and it is genuinely safe — at 165, harmful bacteria are destroyed essentially instantly. But safety is about temperature plus time, not temperature alone. Chicken held at 150 degrees for several minutes achieves the same safety as chicken flashed to 165, because pasteurization is a function of both heat and duration.
In practice, this means boneless breasts pulled at 150 to 155 degrees and rested for five minutes are both safe and dramatically juicier than breasts taken to 165 and beyond. The rest period holds the meat at temperature long enough to finish the job. Dark meat — thighs and drumsticks — is a different story: it stays juicy well past 165 thanks to fat and connective tissue, and many grillers deliberately take thighs to 175 or 180 for the most tender texture. So the real targets: breasts to 150–155 with a rest, thighs and drumsticks to 170–180, whole birds with the breast at 150–155 and the thigh at 170-plus. Always verify with a thermometer in the thickest part, away from bone.
Mistakes to Avoid
- Cooking uneven breasts as they come. Pound them even first — ninety seconds that prevents chalky edges.
- Leaving bone-in chicken over direct heat. The fat drips, the flames come, the skin burns. Sear, then move indirect.
- Pulling at 165 and resting on top of it. Carryover pushes it to 170-plus and the breast dries out. Pull breasts early and let the rest finish the job.
- Constant lid-lifting. Every peek dumps the convection heat the indirect phase depends on.
- Using the same tongs and plate for raw and cooked chicken. Cross-contamination is a real food-safety risk. Keep raw and cooked strictly separated.
- Saucing too early. Sugary barbecue sauce burns over direct heat. Sauce during the last minutes of the indirect phase.
Decision Criteria: Matching Method to Cut
Boneless breasts: pound even, brine or salt ahead, cook over medium direct heat or a hot zone plus a brief indirect finish, pull at 150–155. Bone-in thighs and drumsticks: two-zone method, crisp the skin direct, finish indirect with the lid closed, take to 170–180. Wings: indirect almost the whole way for rendered, crispy skin, with a final direct crisp. Whole birds: spatchcock, indirect roast, breast to 150–155. The pattern is consistent — lean cuts get gentler handling and earlier pulls, while fatty dark meat welcomes higher finishes.
A Simple Weeknight Workflow
For a fast weeknight cook, keep it streamlined: pound two breasts even, salt them while the grill preheats, and cook over medium-high direct heat for five to six minutes per side, flipping once. Probe the thickest part — pull at 150 to 155 degrees — then rest five minutes under a loose foil tent while you plate the sides. Total time from lighting to serving is about thirty minutes on gas, and the result beats most restaurant chicken. The full playbook in this guide scales up for weekend cooks, but this stripped-down version covers most of what makes grilled chicken juicy.
Key Takeaways
- Uneven thickness is the top cause of dry chicken — pound boneless breasts to an even three-quarters inch.
- Brining (wet or dry) adds a moisture safety net; dry brining also crisps skin better.
- Cook bone-in pieces two-zone: crisp skin over direct heat, finish gently indirect with the lid closed.
- Pull breasts at 150–155 and rest; take thighs to 170–180 for the best texture.
- 165 is safe but not mandatory at the pull — temperature plus resting time achieves safety with far more juiciness.
Frequently Asked Questions
Should chicken be at room temperature before grilling?
Letting chicken sit out for twenty to thirty minutes takes the chill off and promotes even cooking, especially for thick breasts. Do not leave it out longer than that for food-safety reasons. This step helps but matters less than even thickness and correct pull temperatures.
Why is my grilled chicken rubbery?
Rubbery chicken is usually undercooked dark meat — thighs and drumsticks need to reach 170-plus for the connective tissue to soften. For breasts, rubberiness can mean they were cooked too fast over blazing heat, seizing the proteins. Match the method to the cut.
Can I grill frozen chicken?
It is not recommended. Frozen chicken cooks extremely unevenly — the outside overcooks long before the frozen center thaws — and it spends too long in the temperature danger zone. Thaw fully in the refrigerator first.
How do I get crispy skin on grilled chicken?
Dry the skin thoroughly, dry-brine for crispness, start skin-side down over direct heat to render the fat, and avoid sugary sauces until the end. A final minute or two back over direct heat at the end re-crisp anything that softened during the indirect phase.
Your next action: try the full playbook on your next chicken cook. Pound the breasts even, salt them an hour ahead, set up two zones, and pull at 152 with the thermometer — not a guess, not a slice to peek. Rest five minutes and cut in. When the juice runs and the meat bends instead of crumbling, you will know the technique works, and dry grilled chicken will be a problem you used to have.


