How to Get Perfect Sear Marks Every Time
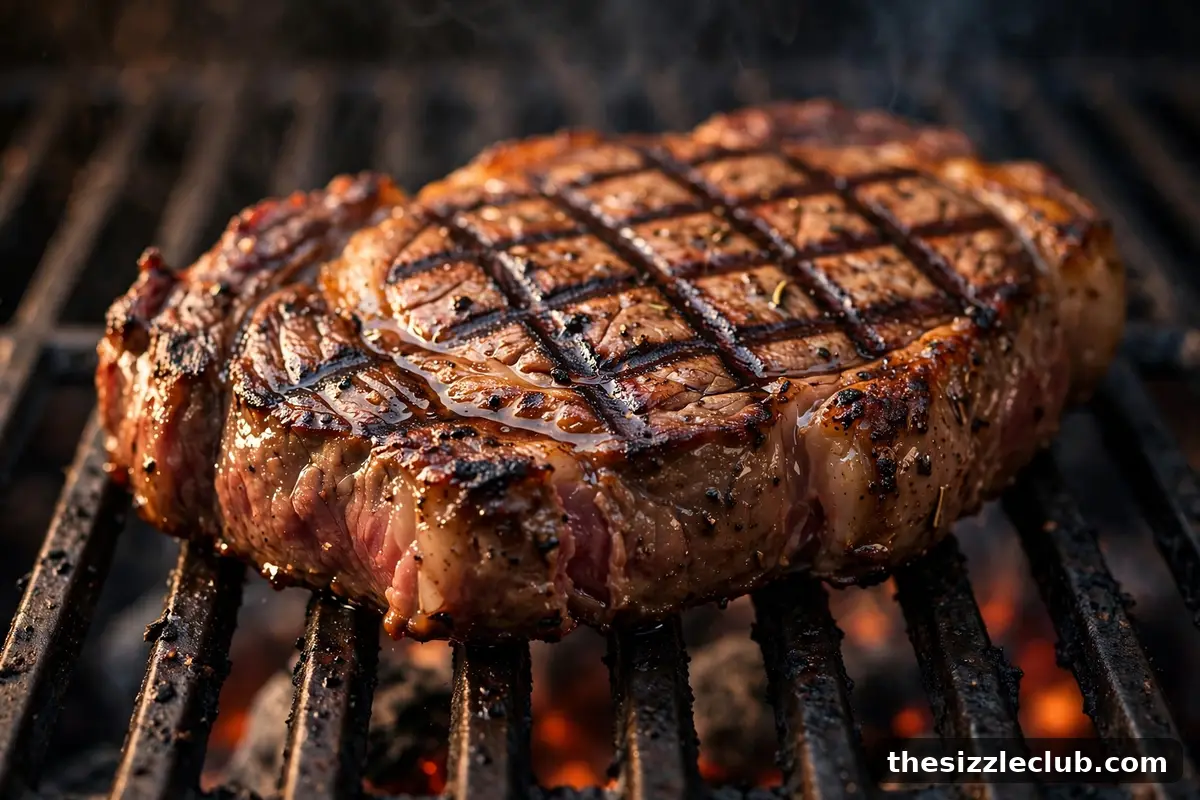
Those dark, crisp crosshatch lines on a steak are not decoration — they are concentrated flavor from the Maillard reaction, the browning that makes seared meat taste like itself, only more so. And they are not luck. Perfect sear marks come from three non-negotiable requirements: serious heat, a dry surface, and full contact with the grates. Get all three right and add the 45-degree turn trick, and you will lay down restaurant-style marks on every cook.
Heat, Dryness, and Contact: The Three Requirements
Every failed sear traces back to one of these three.
Heat
The grates must be genuinely screaming hot — 450 to 550 degrees Fahrenheit at grate level. Lukewarm grates do not sear; they steam. Preheat with the lid closed for a full ten to fifteen minutes on gas, or wait until charcoal is fully ashed over and glowing. If you can hold your hand over the grate for more than three seconds, it is not hot enough yet. Build your fire with the two-zone fire setup so the sear zone runs at maximum while the rest of the grill stays usable.
Dryness
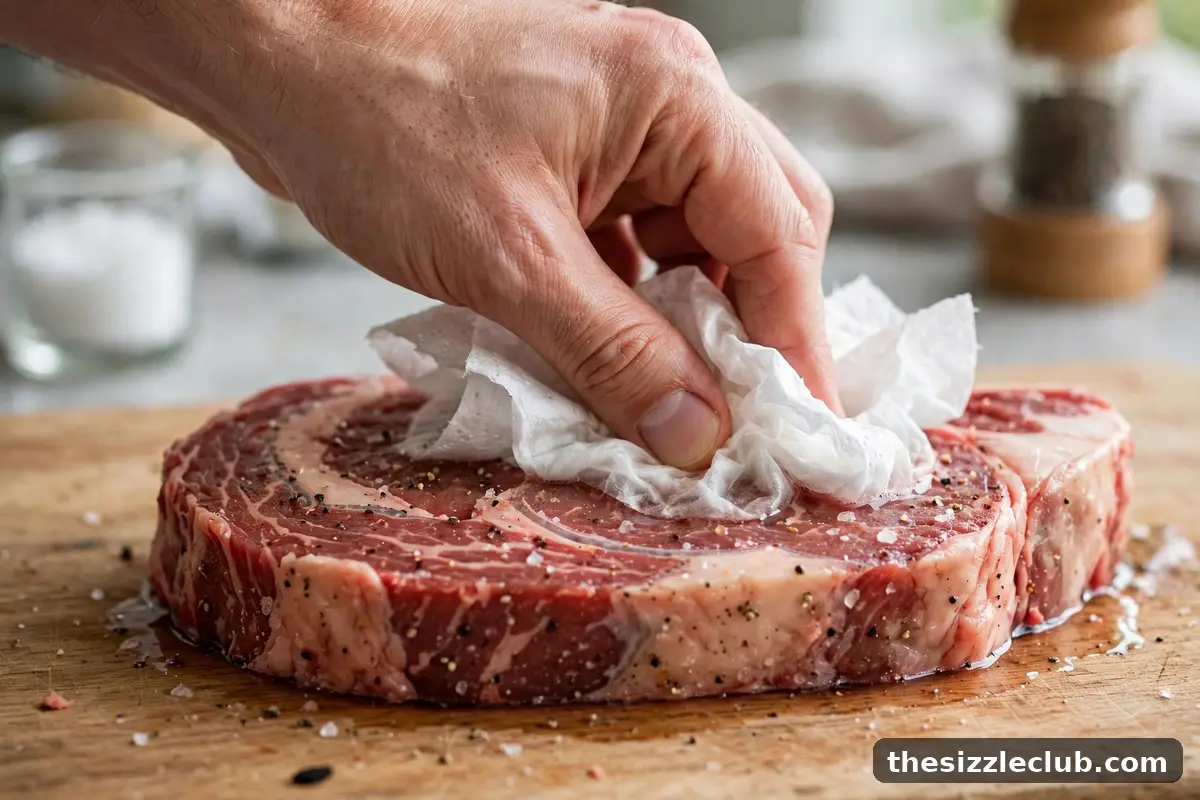
Moisture is the enemy of browning. A wet steak surface has to boil off its water before it can exceed 212 degrees, and browning does not begin in earnest until well above 300. Pat steaks, chops, and burgers thoroughly dry with paper towels right before they hit the grill. Even better, salt thick steaks ahead of time and let them air-dry uncovered in the refrigerator — the surface dries out and the salt penetrates.
Contact
Marks form where meat touches hot metal, so full grate contact is essential. Press the food down lightly for the first few seconds to seat it against the grates. Do not keep pressing after that — one initial press is enough. Warped or thin foods that rock on the grates will mark unevenly, so choose cuts that sit flat.
The 45-Degree Turn Trick for Crosshatch Marks
The professional crosshatch pattern comes from a single mid-sear rotation. Here is the sequence:
- Place the food on the screaming-hot zone and do not touch it for about two minutes.
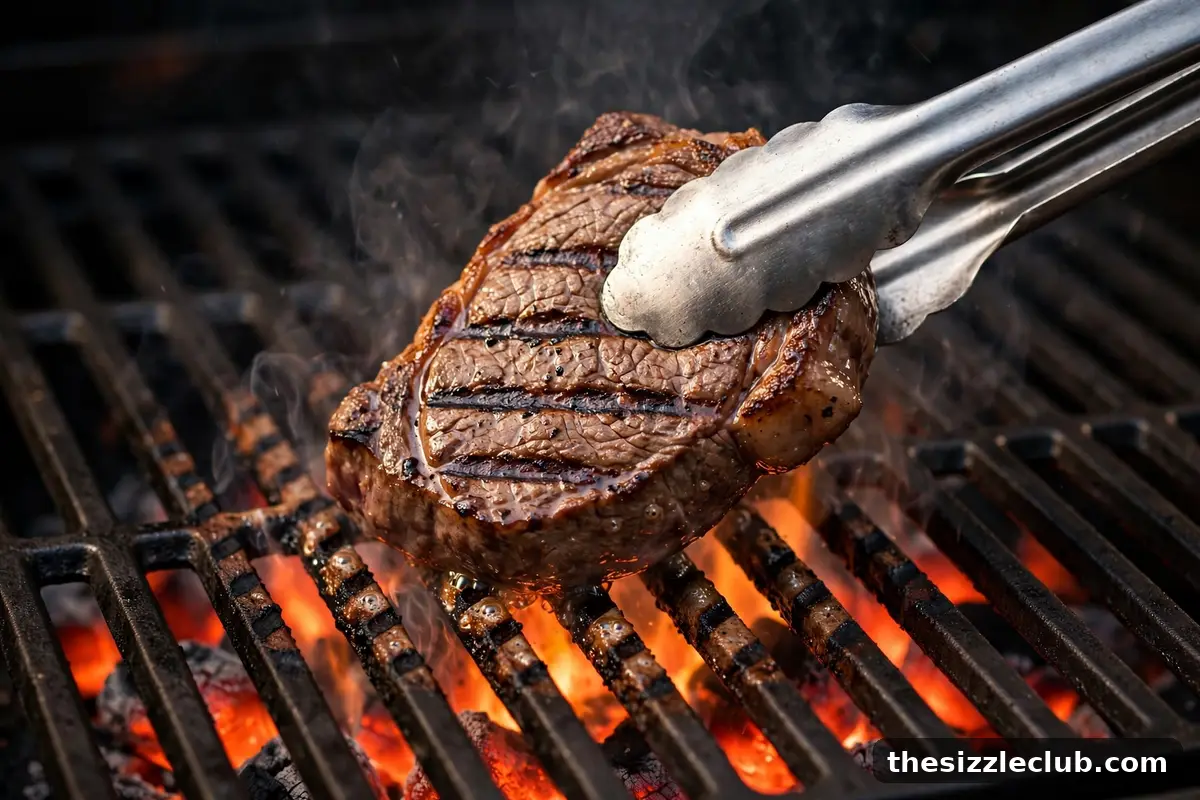
- Lift one corner and peek. When you see deep brown marks, rotate the food 45 degrees — a quarter turn, not a flip.
- Sear another minute or two on the same side to lay the second set of lines crossing the first.
- Flip and repeat the place, wait, rotate sequence on the other side.
The key discipline is the waiting. Moving the food early smears the marks into a muddy, uneven brown instead of crisp lines. Two minutes of undisturbed contact feels long at the grill; trust it. The rotation must be exactly 45 degrees — a 90-degree turn just replaces one set of parallel lines with another, while 45 degrees creates the classic diamond crosshatch.
Why Oiling the Food Beats Oiling the Grates
The old advice says to oil the grates. The better method is to oil the food. Brushing oil directly onto the meat or vegetables puts the oil exactly where it is needed — at the contact points — instead of dripping through the grates onto the coals, where it causes flare-ups and acrid smoke. Use a high-smoke-point oil and a very thin coat; you are lubricating the contact, not frying. On the grate side of the equation, cleanliness matters more than oil: scrubbed grates release food far better than dirty ones. Our guide on how to clean and maintain your grill grates covers the hot-clean method that keeps grates in marking condition.
Timing: When to Place, Turn, and Never Press
Timing a sear is about reading the food, not watching the clock, but these baselines help. Place food only when the grates are fully preheated — placing early on warming grates guarantees sticking and pale marks. Sear the first side for two to three minutes for steaks and chops, slightly less for burgers and thin cuts. Rotate at the halfway point of each side for crosshatch. Flip once per side; repeated flipping interrupts mark formation and cools the surface.
And never press. Pressing squeezes juices out of the meat, and those juices hit the hot grates and flare up, which chars the marks unevenly and can add bitter flavors. The one exception is the initial three-second seat when the food first lands. After that, hands off until it is time to rotate or flip.
For crosshatch on the second side, repeat the same timing — the grates may have lost some heat, so give them a minute to recover with the lid closed before flipping thick cuts. On thin foods that cook in under six minutes total, you can shorten each phase slightly; the marks will be a touch lighter but still crisp and defined.
Sear Marks on Different Foods
The technique adapts slightly by food. Steaks and pork chops are the easiest canvas — flat, firm, and thick enough to handle a full two-minutes-per-side choreography. Burgers need a gentler touch: press the patty flat when forming it so it sits evenly, sear about ninety seconds per side, and rotate once for crosshatch. Chicken breasts take marks well but cook through more slowly, so mark them over the hot zone and finish indirect if the interior lags. Pork tenderloin and other round cuts will roll — sear them on three or four sides, rotating every ninety seconds, for marks all around. Vegetables like zucchini planks, bell pepper halves, and thick onion slices mark beautifully with the same rules: hot grates, light oil on the food, and no fidgeting. Fish is the trickiest — delicate fillets stick and tear — so use a fish basket or a well-oiled piece of foil with holes punched in it, and accept simpler single-direction marks rather than crosshatch.
Fixing Pale Marks Without Overcooking the Inside
Sometimes you lift the corner and the marks are pale and anemic. Do not panic — and do not just leave the food sitting there, or the interior will overcook while you wait for color. First, check the heat: if the grates were not hot enough, crank the burners or open the vents and give them five minutes, moving the food to the cool zone meanwhile. Second, check dryness: pat the surface dry and try again — this alone fixes most pale-mark problems. Third, make sure you are not crowding the grill; too much food drops the grate temperature, so sear in batches. If the interior is already approaching your target temperature but the outside needs more color, finish with a brief blast directly over the hottest spot, thirty to sixty seconds per side, then pull and rest. Color and doneness are separate variables — manage them separately.
Mistakes to Avoid
- Searing on a lukewarm grill. The number one cause of pale, sad marks. Preheat fully, every time.
- Skipping the pat-dry. Wet surfaces steam. Thirty seconds with paper towels changes everything.
- Moving the food too soon. Fidgeting smears marks. Place, wait, rotate, flip — that is the whole choreography.
- Oiling the grates instead of the food. Most of it drips through and flares. Oil the food lightly.
- Pressing with the spatula. It does not speed the sear; it squeezes out juice and causes flare-ups.
- Dirty grates. Old residue insulates the food from the hot metal and tears the marks. Brush grates clean while hot before every cook.
Decision Criteria: Sear-First or Sear-Last
Not every cook wants maximum marking on both sides. For thin steaks and burgers cooked entirely over direct heat, sear both sides hard — that is the whole cook. For thick cuts using sear-then-roast, the initial sear sets the marks and the indirect finish does the rest. For reverse-seared thick cuts, the sear comes last and should be fast and aggressive since the interior is already done. For chicken with skin, prioritize crisp skin over pretty marks — skin renders and browns differently than bare muscle. Match the searing strategy to the cut and the method, and the marks will follow.
Key Takeaways
- Perfect sear marks require three things: screaming-hot grates, a dry surface, and full contact.
- The crosshatch comes from a single 45-degree rotation halfway through each side — place, wait, rotate, flip.
- Oil the food, not the grates, to avoid flare-ups and put lubrication where it counts.
- Never press after the initial seat; it squeezes out juices and ruins the marks.
- Fix pale marks by checking heat and dryness first — do not just extend the sear and overcook the interior.
Frequently Asked Questions
Do grill marks actually add flavor?
Yes. The dark lines are concentrated Maillard browning, which creates hundreds of flavor compounds. The unmarked areas between the lines are less browned, so full-surface searing in a cast-iron pan technically creates more total browning — but on a grill, deep marks plus good overall color is the best of both worlds.
Why do my marks look great on one side and pale on the other?
Usually the grates lost heat after the first side, or the second side went down wet. Let the grates recover heat for a minute or two between sides on thick cuts, and pat the second side dry while the first side sears.
Can I get sear marks on vegetables?
Absolutely — zucchini planks, asparagus, bell pepper halves, and onion slices all take beautiful marks. The same rules apply: hot grates, dry-ish surfaces, oil the vegetables lightly, and do not move them until the marks set.
Do I need special grill grates for good marks?
No. Standard grates work fine when they are clean and properly preheated. Heavy cast-iron grates hold heat well and make slightly bolder marks, but technique matters far more than grate material.
Your next action: on your next cook, commit to the choreography — screaming-hot grates, patted-dry food, oil on the food, place and do not touch for two full minutes, rotate 45 degrees, flip once. Time the two minutes on your phone if you have to; it will feel longer than you expect. When you lift that first piece and see crisp diamond crosshatch staring back at you, you will have the technique for life.