The Complete Beginner’s Guide to Grilling: From First Fire to First Feast
Here is the short version of this entire beginner grilling guide: buy a simple grill you will actually use, learn to control heat before you learn anything fancy, get an instant-read thermometer, and start with forgiving foods like burgers and sausages. Everything else — sear marks, smoke rings, restaurant-worthy steaks — builds on those four habits. Grilling looks like instinct on television, but it is really a small set of repeatable skills. This guide gives you those skills in the right order, a plan for your first three cooks, and a clear list of the beginner mistakes that ruin more dinners than any bad grill ever could.
Choosing Your First Grill Without Overthinking It
Beginners burn more energy choosing a grill than learning to use one. Both major options make great food, and both have real beginners cooking confidently within a weekend. The right choice is the one that matches how you actually live, not the one a stranger on the internet swears by.
Gas: the convenient starter
A basic two-burner or three-burner gas grill lights with a button, heats in ten minutes, and holds a steady temperature with a knob. That consistency is a genuine learning advantage: you can focus on timing, placement, and doneness instead of fighting the fire. Gas is ideal if you grill on weeknights, have limited patience for setup, or just want dinner on the table without a process. The tradeoff is flavor. Gas produces no smoke of its own, so you get clean grilled flavor without the smoky depth charcoal brings. For many weeknight cooks, that is a fine trade.
Charcoal kettle: the flavor school
A classic kettle-style charcoal grill costs less than most gas grills, produces real smoke flavor, and teaches fire management from day one. The cost of that flavor is time: lighting coals takes twenty to thirty minutes, and holding a steady temperature means learning vent control. If you enjoy the process, like weekend cooking projects, and want the most flavor per dollar, charcoal is the stronger teacher. Many long-time grillers started on a kettle and never left.
The decision criteria that actually matter
Run through these five questions and the answer usually picks itself. First, how much setup time will you tolerate on a Tuesday? If the answer is under fifteen minutes, go gas. Second, what is your budget for the grill plus first-year fuel? A kettle plus charcoal is far cheaper to start than a gas grill plus a propane tank. Third, how much space do you have? A small patio or balcony favors a compact gas grill, while a roomy backyard fits a kettle. Fourth, do you enjoy tending a fire, or does that sound like a chore? Be honest — the best grill is the one you light often. Fifth, what do you most want to cook? Quick weeknight proteins favor gas; slow weekend projects favor charcoal. Before you light anything, run through our grill safety checklist so your first session is safe as well as fun.
The 5 Skills Every Beginner Should Learn, In Order
Grilling has a natural learning sequence. Master each skill before adding the next and you will progress faster than someone who tries to learn everything on the first cook.
1. Lighting up and reaching temperature safely
Learn to light your grill the right way and get it to your target temperature. For gas, that means opening the lid, turning on the gas, and igniting with the built-in igniter, then preheating with the lid closed for ten to fifteen minutes. For charcoal, it means a full chimney starter of coals, lit without lighter fluid if possible, poured into the grill when the coals are ashed over. Preheat matters because food placed on cold grates sticks, steams, and never sears properly.
2. Direct versus indirect heat
This is the single most important grilling concept. Direct heat means cooking right over the flames or coals — fast, hot, and best for thin foods. Indirect heat means cooking beside the heat with the lid closed — slower, gentler, and best for thicker foods. Our guide to direct vs indirect heat explains the difference in full, but the one-sentence version is this: sear over direct heat, finish over indirect heat.
3. The two-zone fire
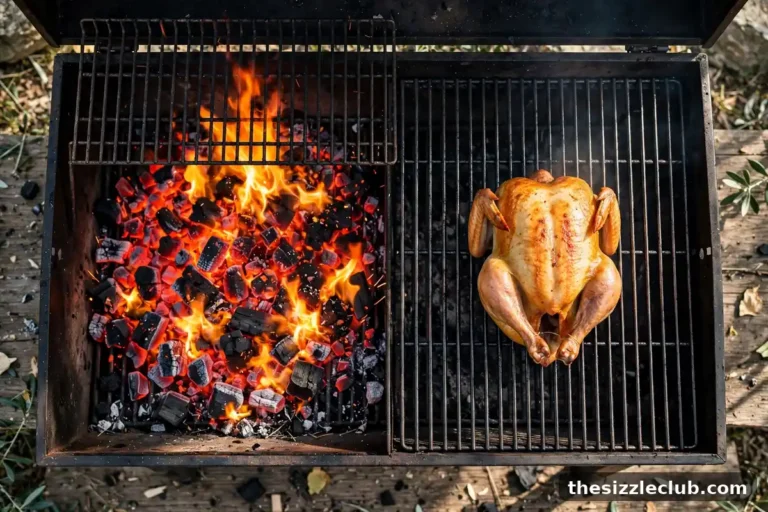
A two-zone setup puts heat on only part of the grill, leaving a cooler safe zone. Hot food that flares up gets moved to the cool side. Thick food sears on the hot side and finishes on the cool side. Nothing burns while you figure things out, because there is always somewhere safe to park the food. Nearly every guide in this series assumes a two-zone fire.
4. Reading temperature with a thermometer
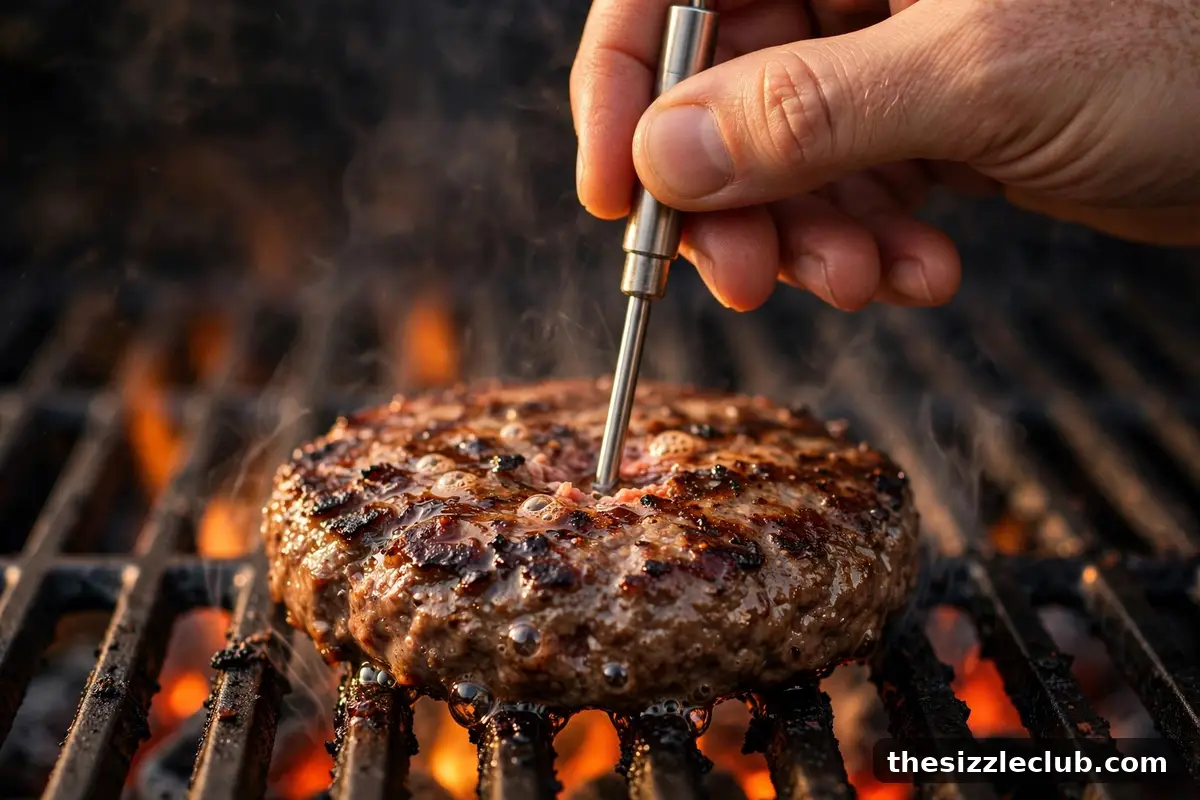
Time estimates lie; thermometers do not. An instant-read thermometer tells you the exact internal temperature of your food in seconds, which is the only reliable measure of doneness. Learn to probe the thickest part of the meat, avoid bone, and pull food a few degrees before your target to account for carryover cooking. This one tool eliminates most beginner anxiety.
5. Resting and slicing
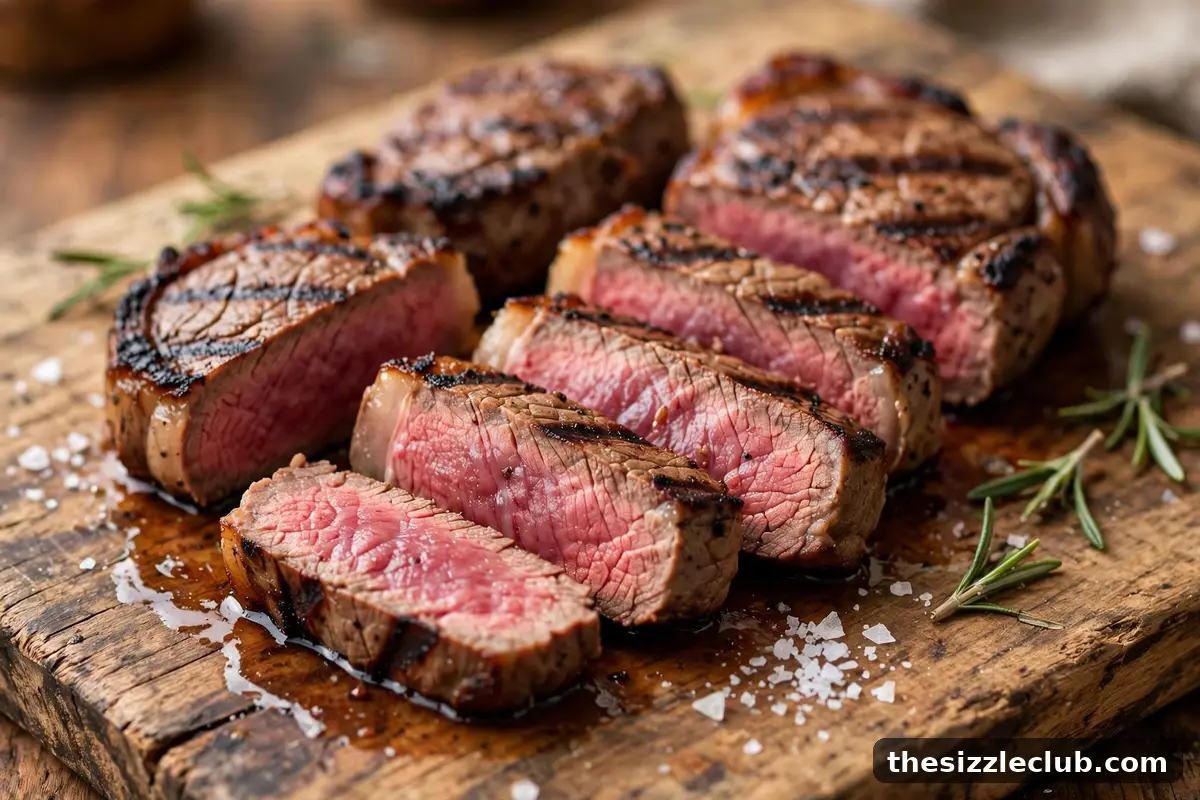
Meat continues cooking after it leaves the grill, and its juices need a few minutes to redistribute. Let steaks and chops rest five to ten minutes, larger cuts longer. Then slice against the grain — across the muscle fibers — for the most tender bite. These two small habits make a visible difference in juiciness.
Your First 3 Cooks: What to Attempt and In What Order
Do not start with a brisket or a whole turkey. Start with foods that forgive mistakes and teach you something each time.
Cook 1: Burgers and sausages
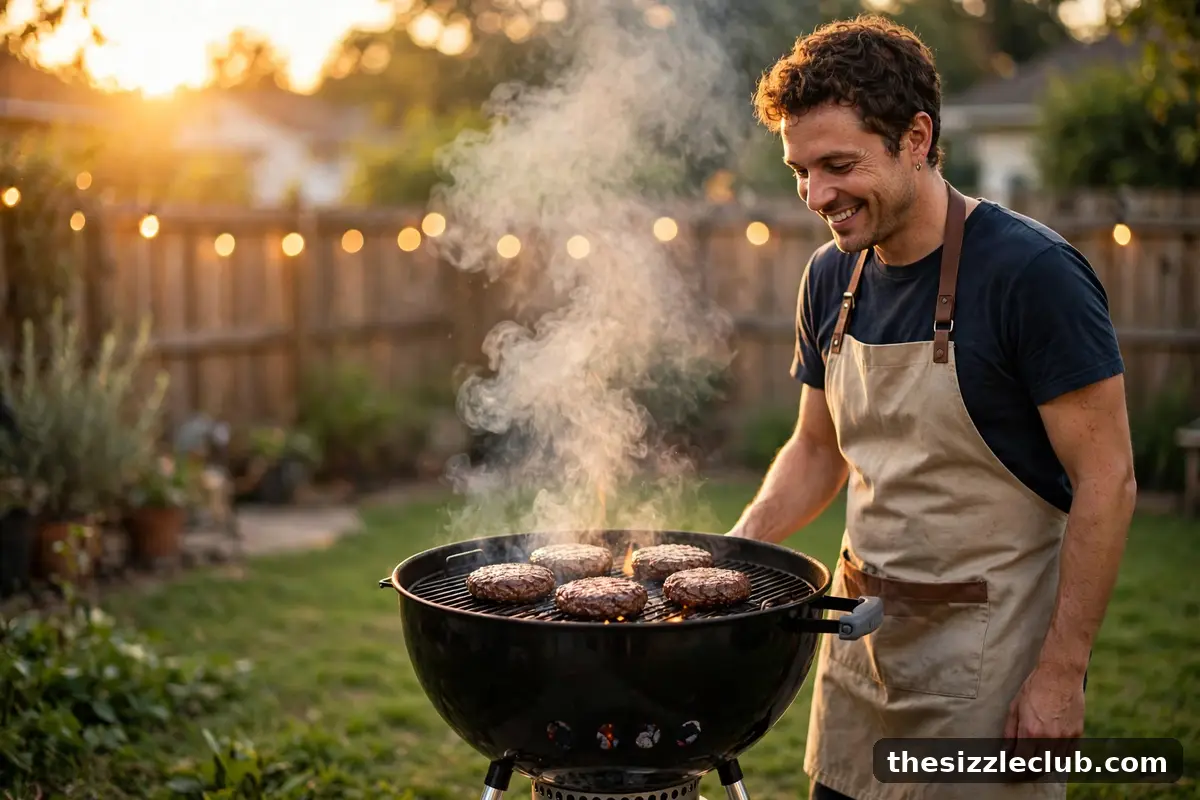
This cook teaches lighting, preheating, direct heat, and flipping. Ground beef and sausages cook quickly, handle a wide range of doneness, and give you fast feedback. Aim for a medium-hot grill, cook burgers three to four minutes per side, and resist the urge to press them flat — pressing squeezes out juices and causes flare-ups. Sausages go over indirect heat if they flare, finishing gently without bursting.
Cook 2: Bone-in chicken pieces
This cook teaches the two-zone fire and the thermometer. Chicken pieces are thick enough to burn over direct heat, so you sear them briefly over the hot zone and finish over the cool zone with the lid closed. Probe the thickest part of the largest thigh; poultry is safely done at 165 degrees Fahrenheit, and thighs stay juicy well past that. You will learn patience, lid discipline, and the satisfaction of juicy chicken with crisp skin.
Cook 3: A thick steak or pork chops
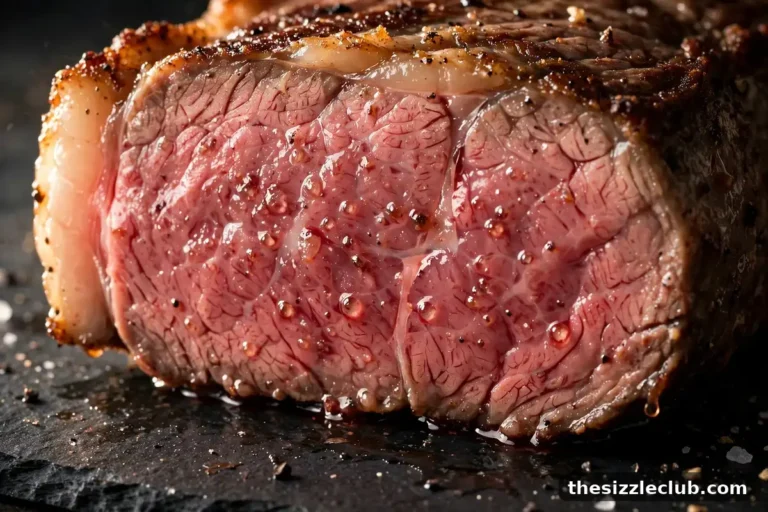
Now you combine everything: seasoning, a screaming-hot sear, an indirect finish, thermometer checks, a proper rest, and slicing. Choose steaks or chops at least an inch and a quarter thick, since thicker cuts give you more margin between a great sear and an overcooked center. Pull beef a few degrees before your target doneness, rest it, and slice. If this cook goes well, you are no longer a beginner — you are a griller with three fundamentals under your belt.
The Thermometer Habit That Separates Beginners From Everyone Else
Ask experienced grillers their most important tool and most will name the thermometer, not the grill. Here is the habit: probe early, probe often, and trust the number. Insert the thermometer into the thickest part of the meat, away from bone and fat pockets, and read the lowest number you see — that is the true center temperature. Learn the targets that matter: poultry at 165 degrees Fahrenheit for safety, pork chops and steaks pulled a few degrees before your preferred doneness because carryover cooking adds five to ten degrees during the rest. Ground meats need to reach safe temperatures throughout since grinding mixes any surface bacteria through the whole patty. Keep the thermometer within reach of the grill, not in a kitchen drawer, and wipe the probe clean between checks. The difference between guessing and knowing is the difference between anxiety and confidence at the grill.
Common First-Timer Mistakes and How to Dodge Them
Every beginner makes some of these. The goal is to make each one exactly once.
- Skipping the preheat. Food on cold grates sticks and steams. Preheat with the lid closed until the grill is genuinely hot, then brush the grates clean.
- Pressing burgers with the spatula. It does not cook them faster; it pushes juices onto the coals and starts flare-ups.
- Using lighter fluid on charcoal. It leaves chemical flavors on the food. A chimney starter and newspaper or starter cubes do the job cleanly.
- Cooking everything over maximum heat. Full blast is for searing thin foods. Thick foods need the two-zone approach or they char outside and stay raw inside.
- Lifting the lid constantly. Every peek dumps heat and adds minutes to the cook. Trust the process and check on schedule, not out of nerves.
- Cutting into meat to check doneness. This bleeds out juices and tells you less than a ten-second thermometer probe. Probe, do not slice.
- Skipping the rest. Meat sliced straight off the grill floods the cutting board with juice that should be in the meat. Rest it first.
- Forgetting food safety basics. Use separate plates and utensils for raw and cooked meat, and do not leave perishable food sitting out in the heat.
A Simple First-Cook Game Plan
Here is a concrete checklist for cook number one. Follow it and the day will go smoothly.
- Read the grill safety checklist and set the grill in a clear, open spot away from the house and overhangs.
- Gather everything before lighting: food, seasoning, tongs, spatula, thermometer, a clean plate, and a drink.
- Light the grill and preheat with the lid closed for ten to fifteen minutes (gas) or until coals are ashed over (charcoal).
- Brush the grates clean while they are hot, then set up two zones — heat on one side only.
- Season simply: salt and pepper is plenty for the first cook.
- Cook burgers over direct heat, flipping once, and move anything flaring to the cool zone.
- Check doneness with the thermometer instead of guessing or slicing.
- Rest the food briefly, serve, and enjoy the first feast.
- After eating, brush the grates while still warm and close the vents or turn off the gas. Cleaning now makes the next cook easier.
Key Takeaways
- Choose the grill that fits your time, budget, and space — gas for convenience, charcoal kettle for flavor and learning.
- Learn five skills in order: safe lighting, direct versus indirect heat, the two-zone fire, thermometer use, and resting plus slicing.
- Plan your first three cooks: burgers and sausages, then bone-in chicken, then a thick steak or pork chops.
- An instant-read thermometer is the single highest-value purchase a beginner can make.
- Most beginner disasters come from skipped preheats, max-heat-everything cooking, and guessing doneness instead of probing.
Frequently Asked Questions
How long does it take to learn grilling?
You can cook a genuinely good meal on your first try by following a plan like the one above. Real confidence — reading the fire, timing multiple foods, recovering from flare-ups — typically develops over five to ten cooks. Grilling rewards repetition more than study, so cook often and keep notes on what worked.
Is gas or charcoal better for a complete beginner?
Gas is easier to learn on because the heat is consistent and controllable with a knob, which lets you focus on timing and doneness. Charcoal teaches deeper fire skills and adds smoke flavor, but demands more patience. Pick based on your schedule and temperament rather than on which one enthusiasts argue about online.
What is the one tool I should buy first?
An instant-read thermometer. It costs a fraction of any grill upgrade and eliminates the number one beginner problem: not knowing when food is done. Tongs and a chimney starter (for charcoal) are the next two purchases.
Do I really need to rest meat?
Yes. Resting lets juices redistribute through the meat instead of flooding the cutting board, and carryover cooking finishes the job gently. Five to ten minutes for steaks and chops, longer for roasts. Tent loosely with foil if you are worried about cooling.
Why does my food stick to the grates?
Sticking usually means one of three things: the grill was not fully preheated, the grates were not clean, or you tried to move the food too soon. Hot, clean, well-oiled grates release food naturally — proteins form a sear and let go when they are ready. If it resists, give it another minute.
Your next action is simple: pick a grill, buy a thermometer, and schedule cook number one for this weekend. Do not wait until you feel ready — the first cook is what makes you ready. Start with burgers, keep the two-zone fire in mind, probe everything, and rest the meat. By your third cook you will wonder why grilling ever seemed intimidating, and by your tenth you will be the one giving advice at the cookout.