Brisket Basics: Trim, Season, Smoke, Rest
A great brisket is not the product of secret recipes or expensive equipment. It is the product of four unglamorous fundamentals done in order: buy a decent packer brisket, trim it sensibly, season it simply, hold a steady low temperature until it probes tender, and rest it long enough for the juices to settle. Brisket punishes impatience and rewards method, so this guide walks the whole cook as a sequence of decisions, each one setting up the next.
Choosing a Brisket: Grade, Size, and the Flexibility Test
For your first brisket, buy a whole packer brisket, which includes both the flat (the lean rectangular muscle) and the point (the fatty, marbled cap on top). A packer in the 10 to 14 pound range is the sweet spot for beginners: big enough that the flat does not dry out, small enough to finish in a reasonable day.
What Grade to Buy
USDA grades rank marbling, and marbling is insurance for beginners. Choice grade is the practical minimum for a first brisket; Select grade can turn out dry and tough in inexperienced hands. Prime is wonderful but expensive, and a beginner will not yet get full value from the extra marbling. Buy the best Choice packer you can find and spend the savings on good charcoal and a reliable thermometer.
The Flexibility Test
Pick the brisket up in the middle with both hands. A good packer bends and flops; a stiff, board-like brisket often has a thick, inflexible fat cap and uneven thickness. Flexibility suggests even fat distribution and a flat that will cook evenly. Also check that the flat is at least an inch thick at its thin end; a paper-thin flat tip will overcook long before the point is done.
Trimming: What to Remove and What to Leave
Trimming shapes how the brisket cooks. Fat does not render into the meat the way many beginners assume; thick hard fat just sits there, blocking smoke and seasoning from the meat underneath. The goal is a smooth, aerodynamic brisket with about a quarter inch of fat on the fat-cap side.
- Start cold: trim straight from the fridge, since cold fat cuts cleanly and warm fat smears.
- Remove the hard, waxy deckle fat between the point and flat where it is thick and solid; it will never render.
- Trim the fat cap down to roughly a quarter inch, shaving high spots and leaving thin spots alone.
- Square off thin, ragged edges of the flat that would burn before the rest finishes.
- Leave the point’s marbling alone; intramuscular fat is the whole reason the point stays juicy.
- Save the trimmings if you like; rendered brisket fat is excellent for cooking potatoes or seasoning cast iron.
Beginners almost always under-trim from fear of removing too much. A brisket with a smooth quarter-inch cap cooks more evenly and develops better bark than a lumpy one with an inch of fat in places. When in doubt, take a little more off the hard fat and leave the soft fat alone.
Seasoning: Why Simple Salt-and-Pepper Wins for Beginners
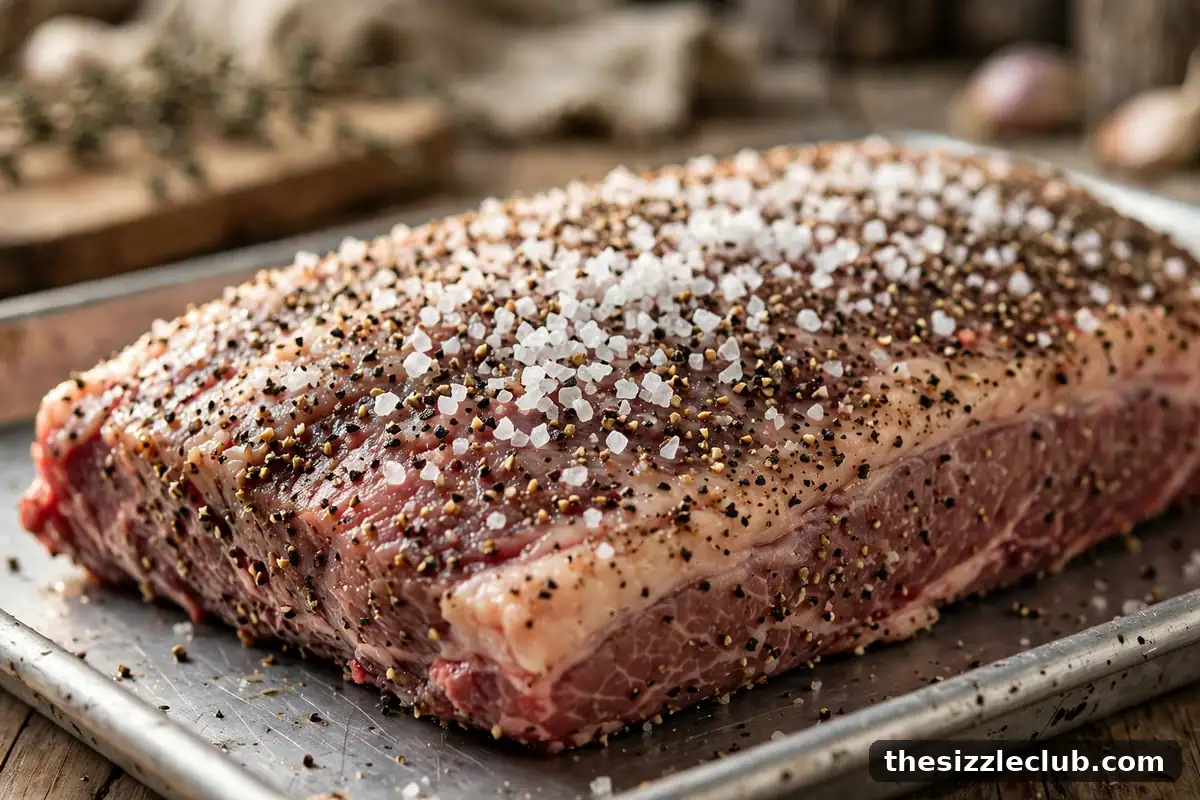
The classic Texas-style seasoning is coarse salt and coarse black pepper, roughly a 50-50 mix by volume, applied generously on all sides. There are three reasons this is the right choice for a first brisket. First, it lets you taste the beef and the smoke, which is the entire point of the cook. Second, coarse pepper builds the dark, crusty bark that defines great brisket. Third, a simple rub removes a variable: if something goes wrong, you know it was fire management or timing, not a 14-ingredient rub.
Season heavily, more than feels reasonable; a thick brisket needs it. Apply the rub at least an hour before the cook, or the night before for deeper penetration of the salt. Skip sugary rubs on your first brisket: sugar burns over a 10-plus hour cook and turns bark bitter instead of beautiful.
The Cook: Steady Heat and the Stall
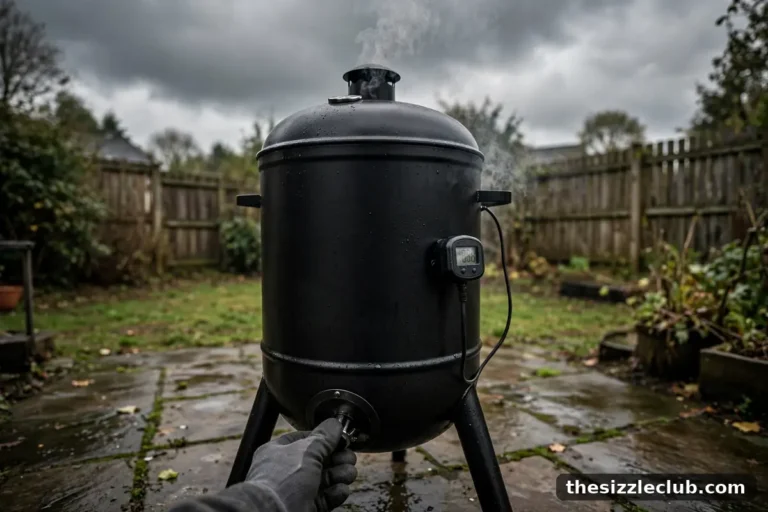
Run your cooker at 250 to 275 degrees F, fat side toward the heat source (up on most offset-style cookers, down on many kettles where heat comes from below). Place the brisket with the point toward the hotter side if your cooker has one. Then close the lid and let it ride.
The Stall: What It Is and Your Three Options
Somewhere around 150 to 165 degrees F internal, the brisket’s temperature will stop climbing for hours. This is the stall: evaporative cooling from moisture leaving the meat’s surface balances the heat going in, like sweat cooling your skin. It is normal, expected, and the moment where most beginners panic.
You have three options. Wait it out: the stall breaks on its own in 2 to 5 hours, and the bark will be at its darkest and firmest. Wrap in butcher paper: the classic Texas crutch powers through the stall in about half the time while preserving bark reasonably well. Wrap in foil: the fastest option, but the trapped steam softens the bark significantly. For a first brisket, wrap in butcher paper once the bark is dark and set, usually around 165 degrees F internal. It is the best compromise between time and texture.
Wrapping, Probing for Doneness, and the Long Rest
After wrapping, return the brisket to the cooker and continue until it is done. And done is not a temperature; it is a feel. Briskets typically finish between 195 and 205 degrees F internal, but some are tender at 195 and some need 208. Start probing around 195 degrees F.
The Probe Test
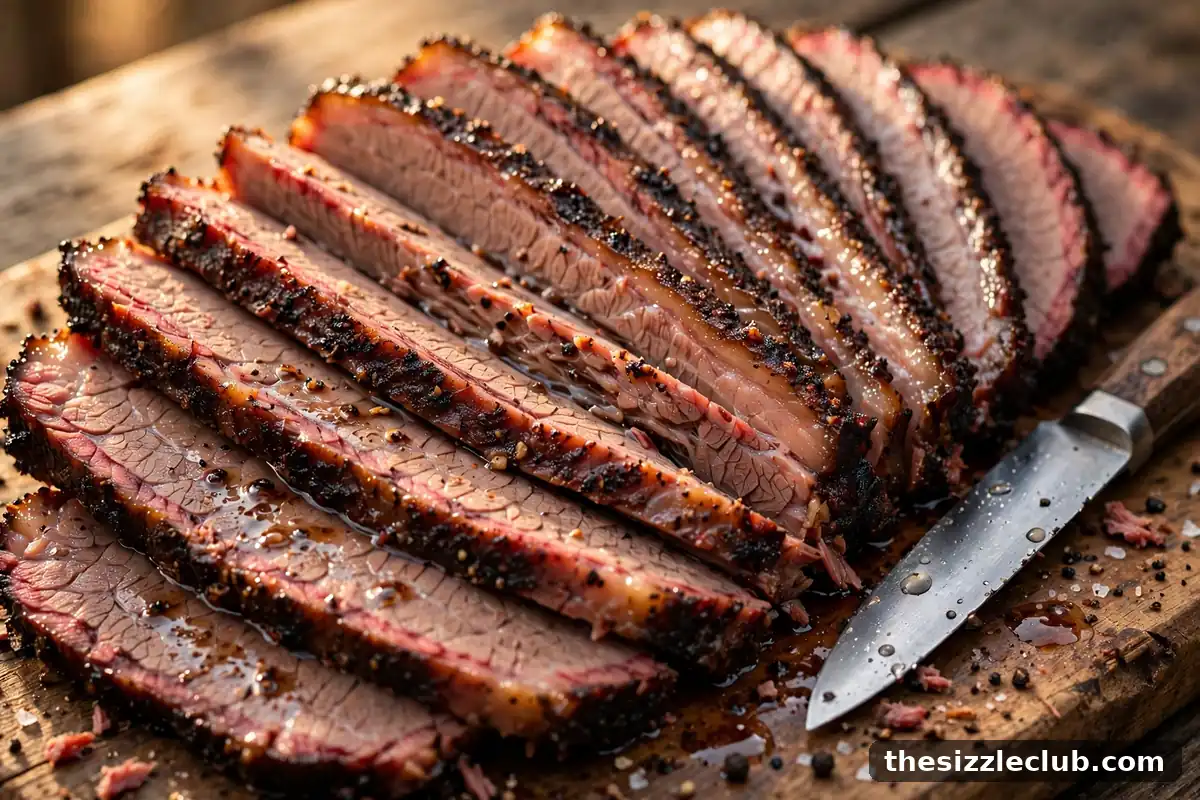
Slide a thermometer probe or skewer into the thickest part of the flat. When it slides in with almost no resistance, like pushing into room-temperature butter, the brisket is done. Check several spots: the flat is the part that dries out, so probe the flat, not just the forgiving point. If you feel resistance, give it another 30 to 45 minutes and probe again.
The Long Rest
Rest the brisket, still wrapped, for at least 1 hour and ideally 2 to 3 hours. Hold it in a dry cooler or a turned-off oven; it will stay safely hot for hours. This rest is non-negotiable: slicing early floods the cutting board with juices that belong in the meat. For the full science and timing tables, see our guide to how long to rest meat. Slice the flat against the grain in pencil-thick slices only after the rest is complete, and separate the point for burnt ends or thicker slices if you like.
Decision Criteria: When to Change the Plan Mid-Cook
Three mid-cook decisions matter. Bark too dark before the stall? Wrap early in butcher paper to protect it. Running behind schedule? Bump the cooker to 275 to 300 degrees F after wrapping; wrapped meat is insulated from harsh heat. Flat probing tender but point still tight? Separate the two, rest the flat, and return the point for another hour or cube it for burnt ends. Each decision follows the same rule: protect the flat, because the point forgives almost everything.
Mistakes to Avoid
- Buying Select grade to save money. The lack of marbling removes your margin for error on a first cook.
- Under-trimming the hard fat. Thick deckle fat never renders; it just blocks smoke and seasoning.
- Opening the lid during the stall. Every peek extends the stall and cools the cooker.
- Pulling by temperature instead of feel. A brisket at 203 degrees F can still be tough; the probe test is the truth.
- Skipping or shortening the rest. Slicing a brisket hot is the fastest way to turn 12 hours of work into dry meat.
- Slicing with the grain. Long muscle fibers chew like rope; slicing against the grain shortens them into tender bites.
Key Takeaways
- Buy a flexible 10 to 14 pound Choice packer with a thick flat; grade is your insurance policy.
- Trim hard fat aggressively and leave a smooth quarter-inch cap for even cooking.
- Season simply with coarse salt and pepper so you can taste the beef and the smoke.
- Expect the stall around 150 to 165 degrees F; wrap in butcher paper and wait it out.
- Judge doneness by probe tenderness in the flat, then rest wrapped for 1 to 3 hours before slicing.
Frequently Asked Questions
How long does a brisket take to smoke?
Plan roughly 1 to 1.5 hours per pound at 250 to 275 degrees F, so a 12-pound packer typically takes 12 to 16 hours including the rest. But cook to probe tenderness, not to the clock: every brisket finishes on its own schedule. Start early; a rested brisket holds hot for hours, but a late brisket makes for miserable guests.
Should I cook brisket fat side up or down?
Put the fat toward the heat source so it shields the meat. On most smokers heat comes from below or the side, so fat side down or toward the firebox protects the flat. The old idea that fat bastes the meat as it renders is a myth; melted fat runs off the sides rather than soaking in.
What is the stall and do I have to wrap?
The stall is evaporative cooling that pauses the temperature climb around 150 to 165 degrees F internal. You do not have to wrap; unwrapped briskets develop the best bark but take several hours longer. Wrapping in butcher paper is the beginner-friendly middle path that shortens the stall while keeping the bark respectable.
Why is my brisket tough even though it hit 203 degrees F?
Because temperature is a guideline and tenderness is the target. Collagen breaks down at different rates in different briskets, so one is butter-tender at 198 and another needs 208. Always finish with the probe test in the thickest part of the flat, and give a tough brisket more time rather than more heat.
Can I smoke a brisket on a kettle grill?
Yes, a full packer fits on a 22-inch kettle using the snake method, though it is a long cook that may need a mid-cook refuel of the snake. Before committing a whole day to brisket, build your skills with our pork shoulder and pulled pork guide, the most forgiving long smoke for beginners.
Next action: Before you buy, practice the trim on paper: watch the shape of a packer brisket, identify the point, the flat, and the deckle fat between them, and rehearse the cuts in your head. Then schedule a day with nothing else on it, buy a Choice packer, and commit to the full sequence: trim, season, steady fire, wrap, probe, rest. Your first brisket teaches you more than ten articles.