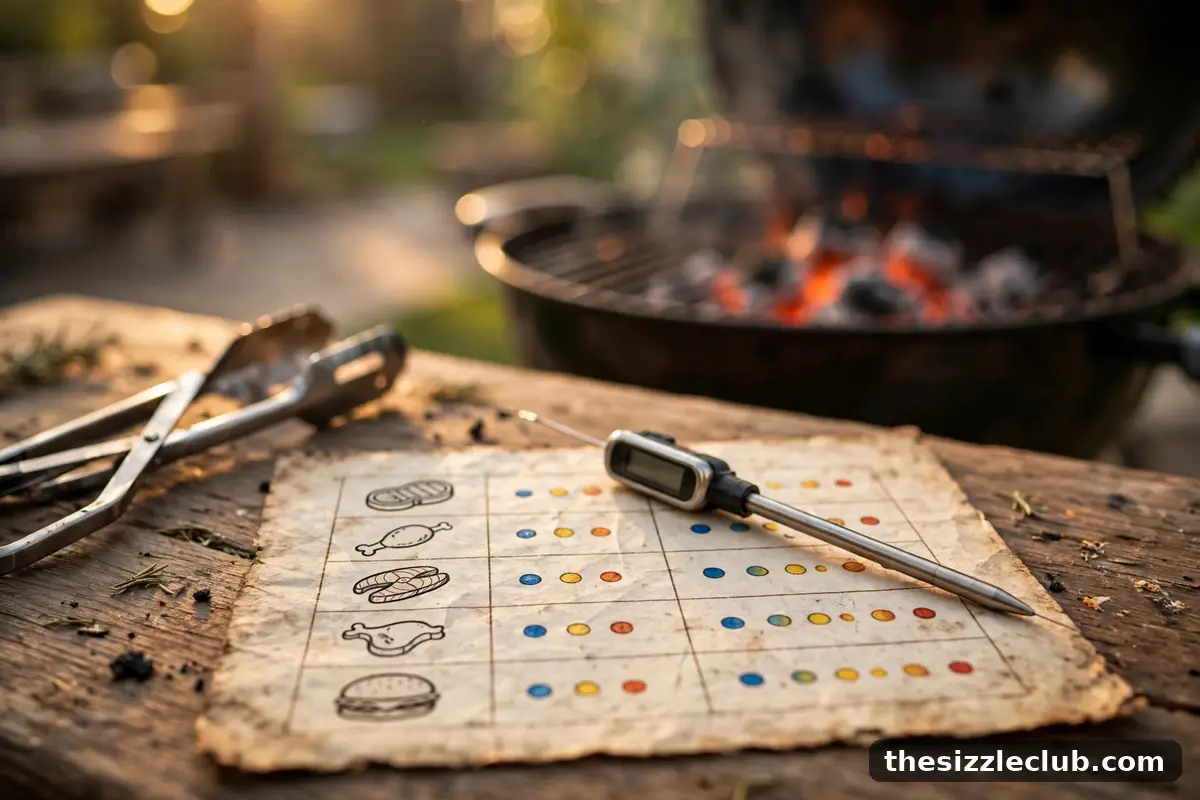
Grilling Times and Temperatures: The Master Chart Explained
Every grilling time-and-temperature chart boils down to one message: pull food when it reaches the target internal temperature, not when a clock says so. Times are estimates shaped by thickness, starting temperature, grill heat, and weather; internal temperature is the only reliable measure of doneness and safety. Learn to read a chart correctly, probe in the right spot, and account for carryover cooking, and you will stop guessing your way through every cook.
How to Read Any Time-and-Temp Chart Correctly
A typical chart gives you three pieces of information for each cut: an approximate time range, a grill heat level, and a target internal temperature. The most common beginner mistake is treating the time column as the instruction and the temperature column as trivia. Flip that. The time tells you how long to expect, so you can plan side dishes and hungry guests. The temperature tells you when the food is done, so you can pull it with confidence.
The Thickness Assumption
Chart times assume a standard thickness, usually spelled out in small print: chicken breasts around 6 to 8 ounces, steaks around 1 to 1.5 inches thick, burgers around three-quarters of an inch. If your steak is 2 inches thick, the chart time is meaningless for you. Always scale expectations by thickness rather than by weight: a thin wide cut cooks faster than a thick narrow one of the same weight.
The Starting-Temperature Assumption
Charts assume meat starts at refrigerator temperature unless they say otherwise. A chicken breast that sat on the counter for 40 minutes will reach its target faster than one pulled straight from the fridge. That is another reason time is approximate: two cooks of the same cut can differ by several minutes based on nothing but how long the meat rested before hitting the grates.
Target Internal Temperatures for the Common Cuts
These are the widely published safe and recommended internal temperatures, measured with a thermometer at the thickest point. For whole-muscle beef, lamb, pork, and fish, standard guidance sets minimums for safety; for poultry and ground meat, higher minimums apply because of how bacteria behave in those foods.
- Chicken and turkey (all cuts): 165 degrees F. Breasts dry out quickly past this, so pull thighs and legs at 165 to 175 degrees F where the extra connective tissue keeps them juicy.
- Pork chops, tenderloin, and roasts: 145 degrees F with a short rest. Modern pork is safe at this temperature and far juicier than the overcooked pork of decades past.
- Ground beef, pork, and lamb (burgers, meatballs): 160 degrees F, because grinding distributes bacteria through the meat.
- Beef and lamb steaks and roasts (whole muscle): 145 degrees F minimum; medium-rare is typically pulled around 130 to 135 degrees F and medium around 140 to 145 degrees F, served to personal preference.
- Fish fillets: 145 degrees F, or until the flesh flakes easily.
- Shrimp: cook until opaque and pink throughout.
- Sausages (fresh, raw): 160 degrees F for pork or beef, 165 degrees F for poultry sausages.

Keep this list as a starting point, not a straitjacket. Barbecue cuts like brisket and pork shoulder are cooked well past these minimums, often to 195 to 205 degrees F, because tenderness from rendered collagen matters more than the safety minimum. For a full treatment of steaks specifically, see our guide to grilling the perfect steak at any thickness.
Why Time Is an Estimate and Temperature Is the Truth
Two identical chicken breasts can finish 10 minutes apart on the same grill. Grill temperature fluctuates, wind steals heat, one breast is thicker than the other, and lids get opened. None of that is visible to a timer. A thermometer reads what actually happened inside the meat, which is why experienced grillers treat charts as planning tools and thermometers as decision tools.
This also explains why cooking by touch, the old poke-and-guess method, is unreliable for beginners. The hand-poke test for doneness was popularized before affordable instant-read thermometers existed, and it requires a calibrated feel you only develop after hundreds of cooks. A basic thermometer gives you that information on day one. There is no prize for guessing correctly, and there is real downside to guessing wrong: serving undercooked chicken to guests.
Thermometer Types and Where to Probe
Not all thermometers do the same job, and where you place the probe matters as much as which thermometer you own.
Instant-Read Thermometers
This is the one tool every griller should own first. Open the lid, insert the probe, read the number in a few seconds, close the lid. Use it to spot-check doneness at the end of a cook.
Leave-In Probe Thermometers
A probe stays in the meat during the cook with a wire or wireless connection to a display. Ideal for thick cuts, roasts, and low-and-slow smoking, where opening the lid repeatedly costs you heat and time.
How to Probe Correctly
- Insert the probe into the thickest part of the meat, from the side on thin cuts so the tip reaches the center.
- Avoid bone, fat pockets, and the grill grate itself, all of which read hotter or colder than the meat.
- Take two or three readings in slightly different spots and trust the lowest one.
- On thin cuts like burgers, slide the probe in horizontally through the side so the sensing tip sits in the center.
- Remember carryover: pull a few degrees below target on thick cuts, as explained below.
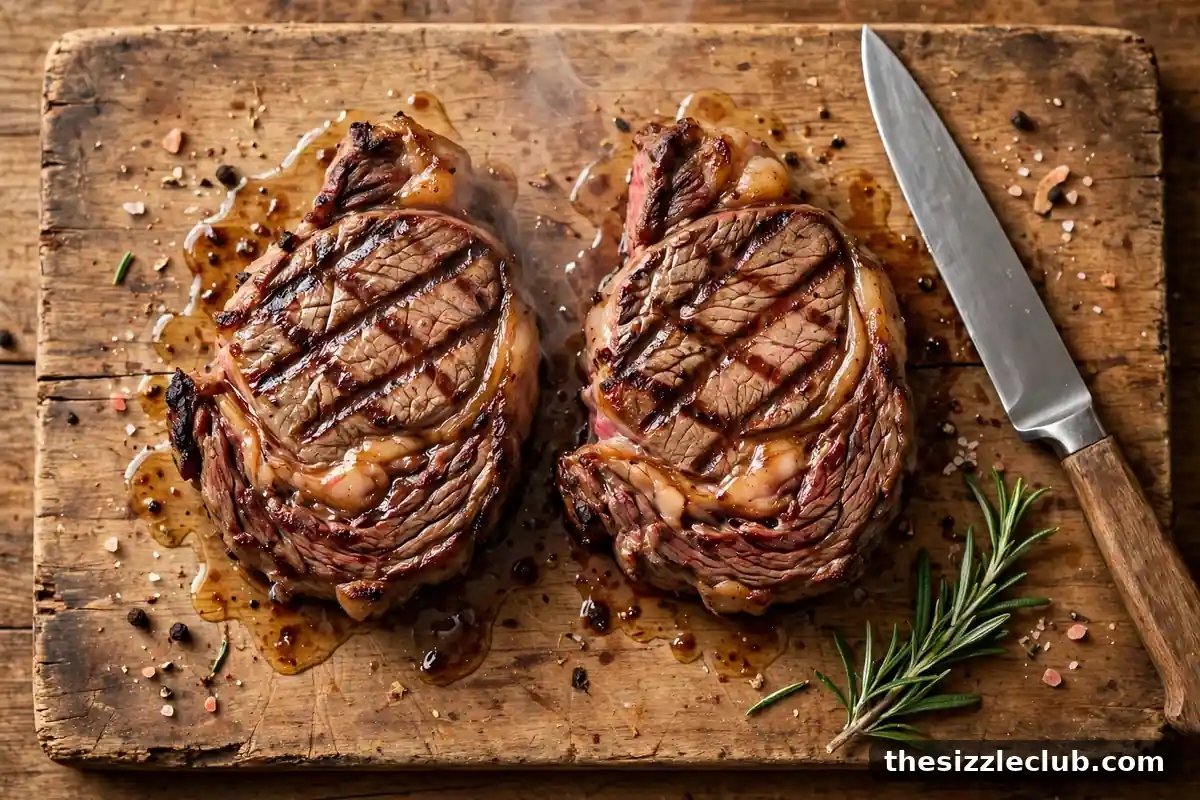
Carryover Cooking and Rest: Finishing the Chart’s Job
When meat leaves the grill, its exterior is much hotter than its interior, and that heat keeps flowing inward during the rest. Internal temperature typically rises 3 to 8 degrees on steaks and chops, and 5 to 10 degrees on large roasts. If your target is 145 degrees F and you pull at exactly 145 degrees F, you will serve 150 degrees F.
The practical fix is simple: pull thick cuts 3 to 5 degrees below your target and let the rest finish the job. Thin cuts carry over very little, so pull them right at target. Resting also lets juices redistribute so they stay in the meat instead of flooding the cutting board. For detailed resting times by cut, see our guide to how long to rest meat and why it matters.
The Doneness Decision Ladder
When the chart, the clock, and your instincts disagree, decide in this order: first, the thermometer reading at the thickest point; second, a visual check consistent with that reading, such as clear juices or firmness appropriate to the cut; third, the chart’s time range as a sanity check only. If the thermometer says 165 degrees F but the chart suggested 12 more minutes, trust the thermometer. If the thermometer says 140 degrees F but the chart time has passed, keep cooking. The clock never outranks the probe.
Mistakes to Avoid
- Cooking to time instead of temperature. The chart’s minutes are a plan, not a promise.
- Probing in the wrong spot. Touching bone or poking a thin edge gives a false number in either direction.
- Ignoring carryover. Pulling thick cuts at the target instead of a few degrees under it.
- Trusting the grill’s built-in thermometer. Lid thermometers measure air near the lid, not heat at the grate where food cooks.
- Skipping the thermometer on easy foods. Burgers and chicken breasts are the most commonly undercooked items because cooks assume they know by look.
- Cutting into meat to check. Every test slice leaks juices; the probe hole from a thermometer is negligible by comparison.
Key Takeaways
- Internal temperature determines doneness; time only helps you plan the cook.
- Know the target temps for your most-cooked cuts, especially 165 degrees F for poultry and 160 degrees F for ground meat.
- An instant-read thermometer is the single most valuable grilling tool you can own.
- Probe the thickest part, avoid bone, and take more than one reading.
- Account for carryover: pull thick cuts a few degrees early and rest them properly.
Frequently Asked Questions
Do I really need a meat thermometer if I have a time-and-temp chart?
Yes. The chart tells you what to aim for; the thermometer tells you when you have hit it. Charts cannot account for your grill’s actual heat, the meat’s thickness, wind, or how often you opened the lid. Skipping the thermometer is the most common cause of both overcooked and undercooked grilled food.
What temperature should chicken be when it comes off the grill?
Pull chicken breasts right around 160 to 162 degrees F and let carryover bring them to 165 degrees F during the rest. For bone-in thighs and drumsticks, pull at 170 to 175 degrees F; the higher finish breaks down connective tissue and keeps dark meat juicy rather than rubbery.
Why did my steak keep cooking after I took it off the grill?
That is carryover cooking: residual heat in the outer layers continues moving toward the cooler center after the meat leaves the heat. A thick steak can climb 5 degrees or more during a 10-minute rest, which is why you pull a few degrees below your target temperature.
Can I trust the thermometer built into my grill lid?
Not for food temperature. Lid thermometers sit inches above the grate and read the air near the lid, which can be far off from the temperature at the cooking surface. Use a grate-level probe for grill temperature and an instant-read probe for food temperature.
Is it safe to eat pink pork?
A slight blush of pink at 145 degrees F internal temperature is fine for whole-muscle pork such as chops and tenderloin, followed by a short rest. Ground pork still needs 160 degrees F. If pink pork makes your guests nervous, cooking to 150 degrees F remains juicy and gives extra margin.
Next action: Before your next cook, write down the target temperatures for the two cuts you grill most often and tape them inside a cabinet door near the grill. Then cook those cuts by thermometer alone for a month. You will find the chart becomes a planning aid and the probe becomes the decision-maker, which is exactly how it should be.